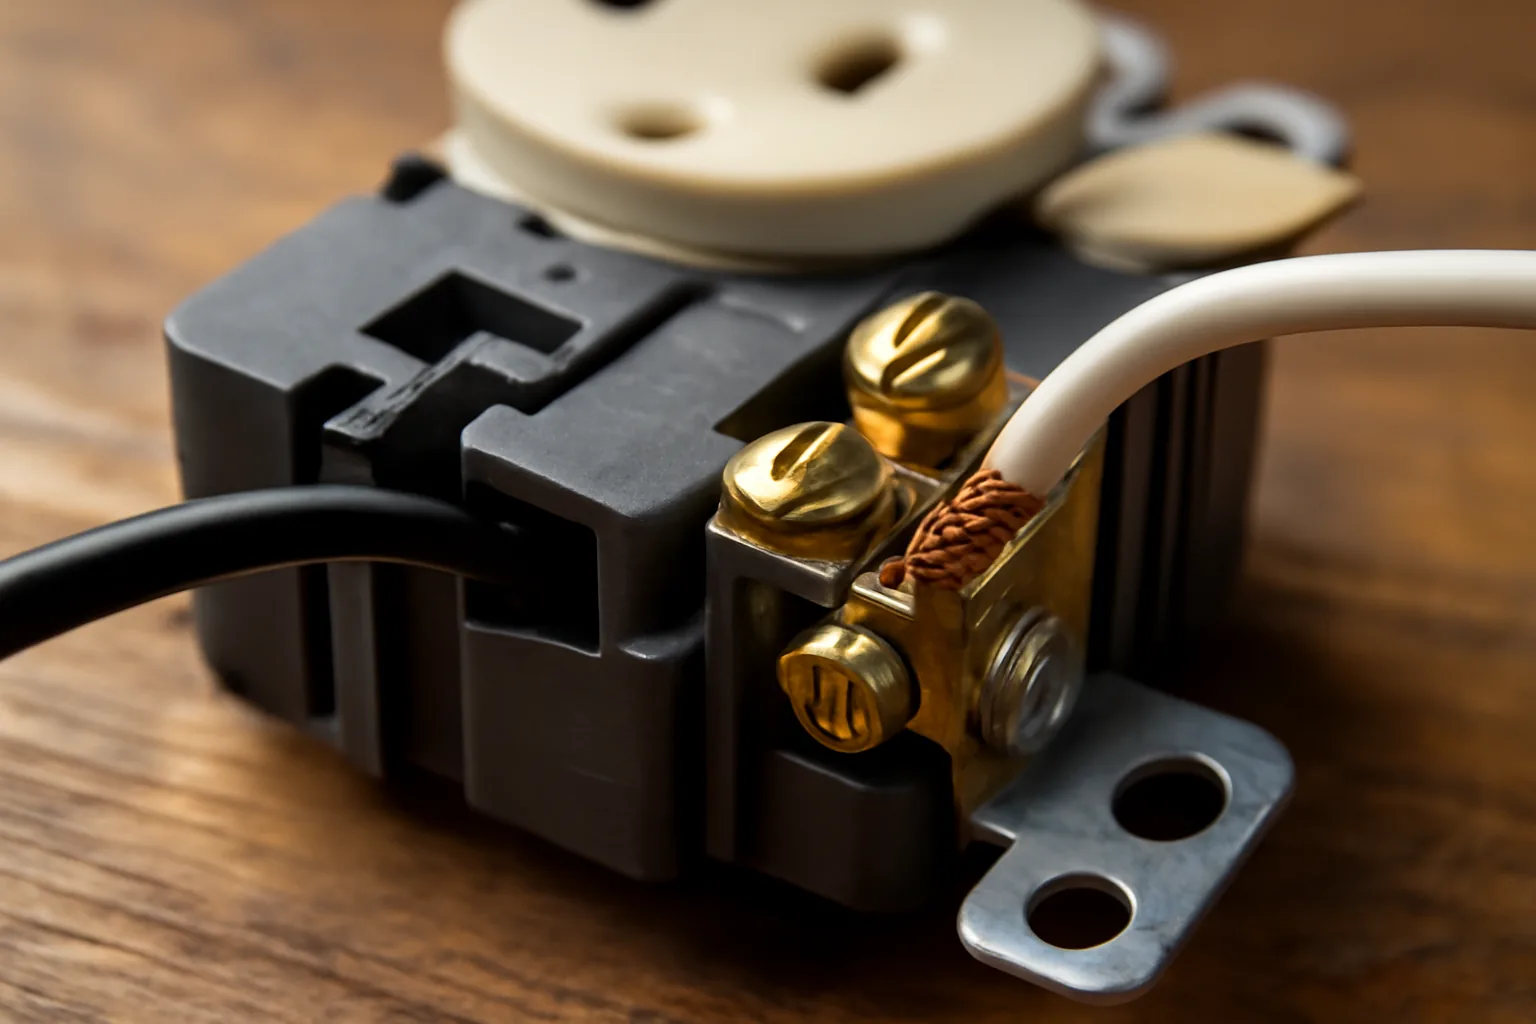
Last fall, I got called out to a home in the suburbs where the homeowner kept tripping a breaker in her living room. She figured it was the circuit, maybe an overloaded panel. When I pulled the first outlet off the wall, I knew exactly what I was looking at. The backstab vs side wire outlet failure debate isn’t theoretical to me — it’s the number one wiring problem I find in houses built between 1970 and 2000. That loose backstab connection had been arcing quietly inside the wall for who knows how long.
This is the failure I see most often. More than bad breakers. More than overloaded circuits. Improperly backstabbed outlets cause intermittent power loss, breaker trips, overheating, and in the worst cases, electrical fires. If your home has original outlets from the 1980s or 1990s, there’s a real chance you have backstabbed connections sitting inside your walls right now.
I’m going to walk you through exactly what backstabbing is, why it fails, and what side-wiring looks like done correctly. Twelve years of pulling outlets apart has taught me a lot. Let me save you the trouble — and potentially the danger — of finding out the hard way yourself.
| Connection Method | How It Works | Failure Mode | Lifespan |
|---|---|---|---|
| Backstabbing | Wire pushed into spring-loaded hole on back | Spring fatigues from heat cycles; loose grip causes arcing and overheating | 20–30 years shorter than side-wire |
| Side Wiring (Screw Terminal) | Wire wrapped clockwise around brass or silver screw; torqued to 12 inch-pounds | Direct mechanical clamping force; does not fatigue the same way | Life of the device when properly torqued |
What “Backstabbing” an Outlet Actually Means
Backstabbing refers to a wiring method where the electrician — or more often a DIYer — pushes the bare wire directly into a small spring-loaded hole on the back of the receptacle. No screws. No wrapping. Just push and go. The spring inside clamps down and holds the wire in place. It sounds convenient. In practice, it’s a disaster waiting to happen.
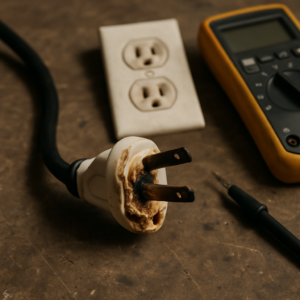
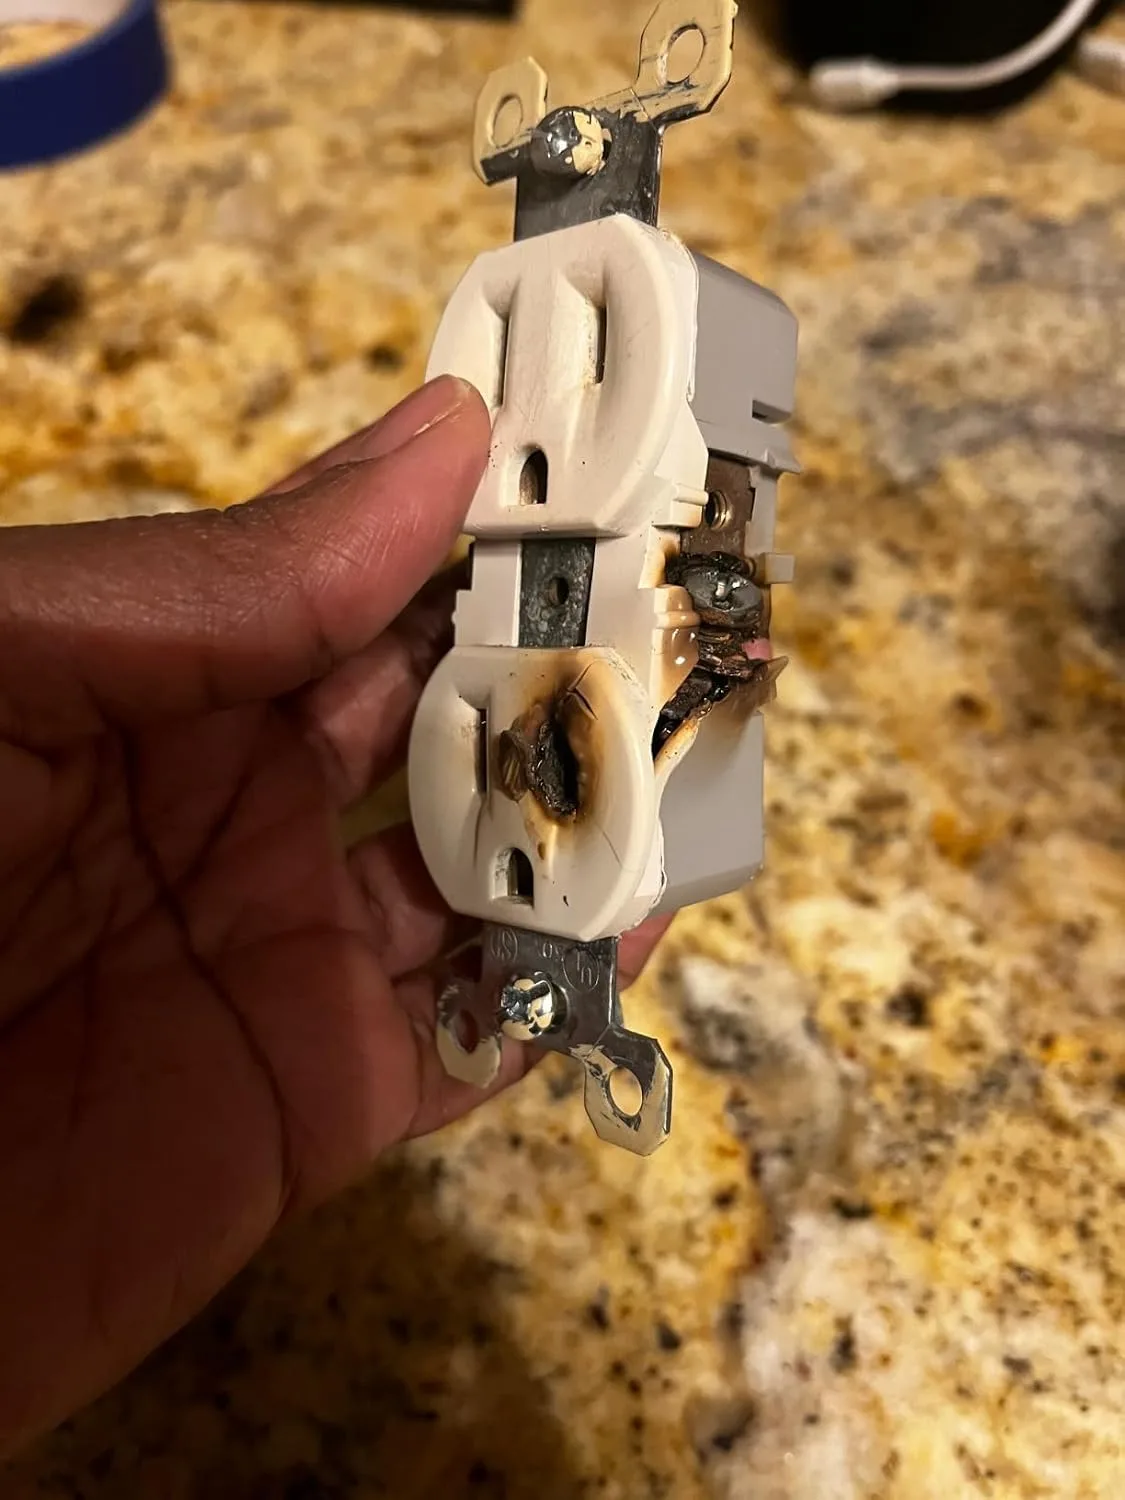
The spring-clamp mechanism uses a thin piece of stamped metal to grip the wire. Over time, that metal fatigues. Heat cycles from normal electrical load cause the wire and the clamp to expand and contract repeatedly. As a result, the grip loosens. Eventually you get a high-resistance connection — and high resistance means heat. That heat is what causes arcing, melted plastic, and tripped breakers.
I learned this the hard way early on. I backstabbed a few outlets on a bathroom remodel because it was faster, and six months later the homeowner called me back about a dead outlet. When I opened the box, the insulation near the backstab hole had turned brown. That was the last time I ever backstabbed a connection. From that point forward, every outlet I installed got side-wired.
Side Wiring: How It’s Done and Why It Holds
Side wiring — also called screw-terminal wiring — means wrapping the stripped wire around a brass or silver screw on the side of the receptacle and tightening it down. The screw applies direct, mechanical clamping force across a large surface area of the wire. That connection doesn’t rely on spring tension. It doesn’t fatigue the same way. Done correctly, it lasts the life of the device.
The NEC (National Electrical Code) doesn’t technically prohibit backstabbing on 15-amp receptacles. However, many local jurisdictions do, and most licensed electricians I know refuse to do it regardless of what the code allows. The reason is simple: the failure rate is much higher. In my experience, a properly torqued screw terminal connection on a quality receptacle will outlast a backstabbed connection by 20 or 30 years.
Proper technique matters, too. Strip exactly 3/4 inch of insulation. Wrap the wire clockwise around the screw so tightening the screw pulls the wire tighter, not looser. Torque to the spec on the device — most residential receptacles list 12 inch-pounds. Don’t overtighten, which can crack the terminal. And never use backstab holes on any receptacle, even if screw terminals are also present.
Backstab vs Side Wire Outlet Failure: What the Signs Look Like
Knowing the symptoms matters. Backstab failures don’t usually announce themselves dramatically. They creep up slowly. Here’s what I’ve seen in the field over twelve years of service calls.
- Outlets that work intermittently — especially under load, like when you plug in a vacuum or space heater
- Breakers that trip without an obvious overload cause
- A faint burning smell near outlets or switch plates
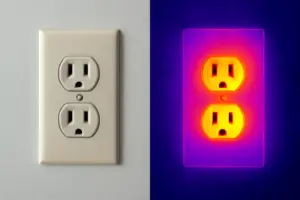
- Outlets that feel warm to the touch
- Visible discoloration or melting on the outlet face or the plastic housing inside the box
- Dead outlets downstream on the same circuit — a failed backstab connection kills everything fed after it
That last one trips up a lot of homeowners. They assume the outlet itself is dead. In many cases, the outlet three devices upstream has a failed backstab that’s broken the chain. I’ve had service calls where I traced a dead outlet all the way back to a connection in a hallway — a spot nobody had touched in 25 years.
If you’re seeing any of these symptoms, especially in a home built before 2000, don’t assume it’s the breaker or the panel. Pull the nearest outlet and look at the back. If you see wires pushed into holes instead of wrapped around screws, you’ve found your problem.
How to Replace Backstabbed Outlets the Right Way
Replacing a backstabbed outlet is a straightforward job for someone comfortable with basic electrical work. The whole process — from turning off the breaker to securing the cover plate — takes about 15 minutes per outlet once you’ve done a few. Here’s how I approach it.
Step-by-Step Process
- Turn off the breaker for that circuit and verify with a non-contact voltage tester. Never skip this.
- Remove the cover plate and unscrew the outlet from the box.
- Pull the outlet out carefully — usually 4 to 6 inches of wire slack is available.
- Take a photo of the wiring configuration before disconnecting anything.
- Release the backstabbed wires using a small flathead screwdriver in the release slot, or cut the wire close to the hole and re-strip 3/4 inch of fresh insulation.
- Connect wires to the screw terminals of the new outlet: black to brass, white to silver, ground to green.
- Fold the wires neatly into the box, secure the outlet, attach the cover plate, and restore power.
One important note: if you find aluminum wiring — silvery, dull-colored wire instead of copper — stop immediately. Aluminum wiring requires special receptacles rated AL/CU and anti-oxidant compound. That’s a different job entirely, and I’d recommend calling a licensed electrician at that point.
For a standard copper-wired home, budget about $3 to $6 per outlet for quality replacements and an hour or two of your afternoon to do a room. If you’re replacing an entire house worth of outlets, buying in bulk makes much more sense financially.
The Side-Wire Outlet That Finally Stopped These Callbacks for This Problem
After pulling dozens of failed backstab outlets from walls, I switched to side-wire receptacles on every replacement job. The difference isn’t subtle — side-wire connections eliminate the loose-pin failures that plague backstab designs.
What works
- Screw terminals grip wire with consistent pressure — no spring-loaded contact degradation over 20+ years
- Dead-simple to inspect and troubleshoot; you can visually confirm a tight connection without pulling test equipment
- When you’re pulling outlets from a problem circuit, these go back in with confidence — I’ve never had a callback on a side-wire swap
What doesn’t
- Takes about 30 seconds longer to wire than backstab — you’re actually stripping wire and tightening screws instead of pushing and hoping
- You have to know how to strip wire cleanly and wrap it correctly; a sloppy wrap will cause the same arcing problems you’re trying to avoid
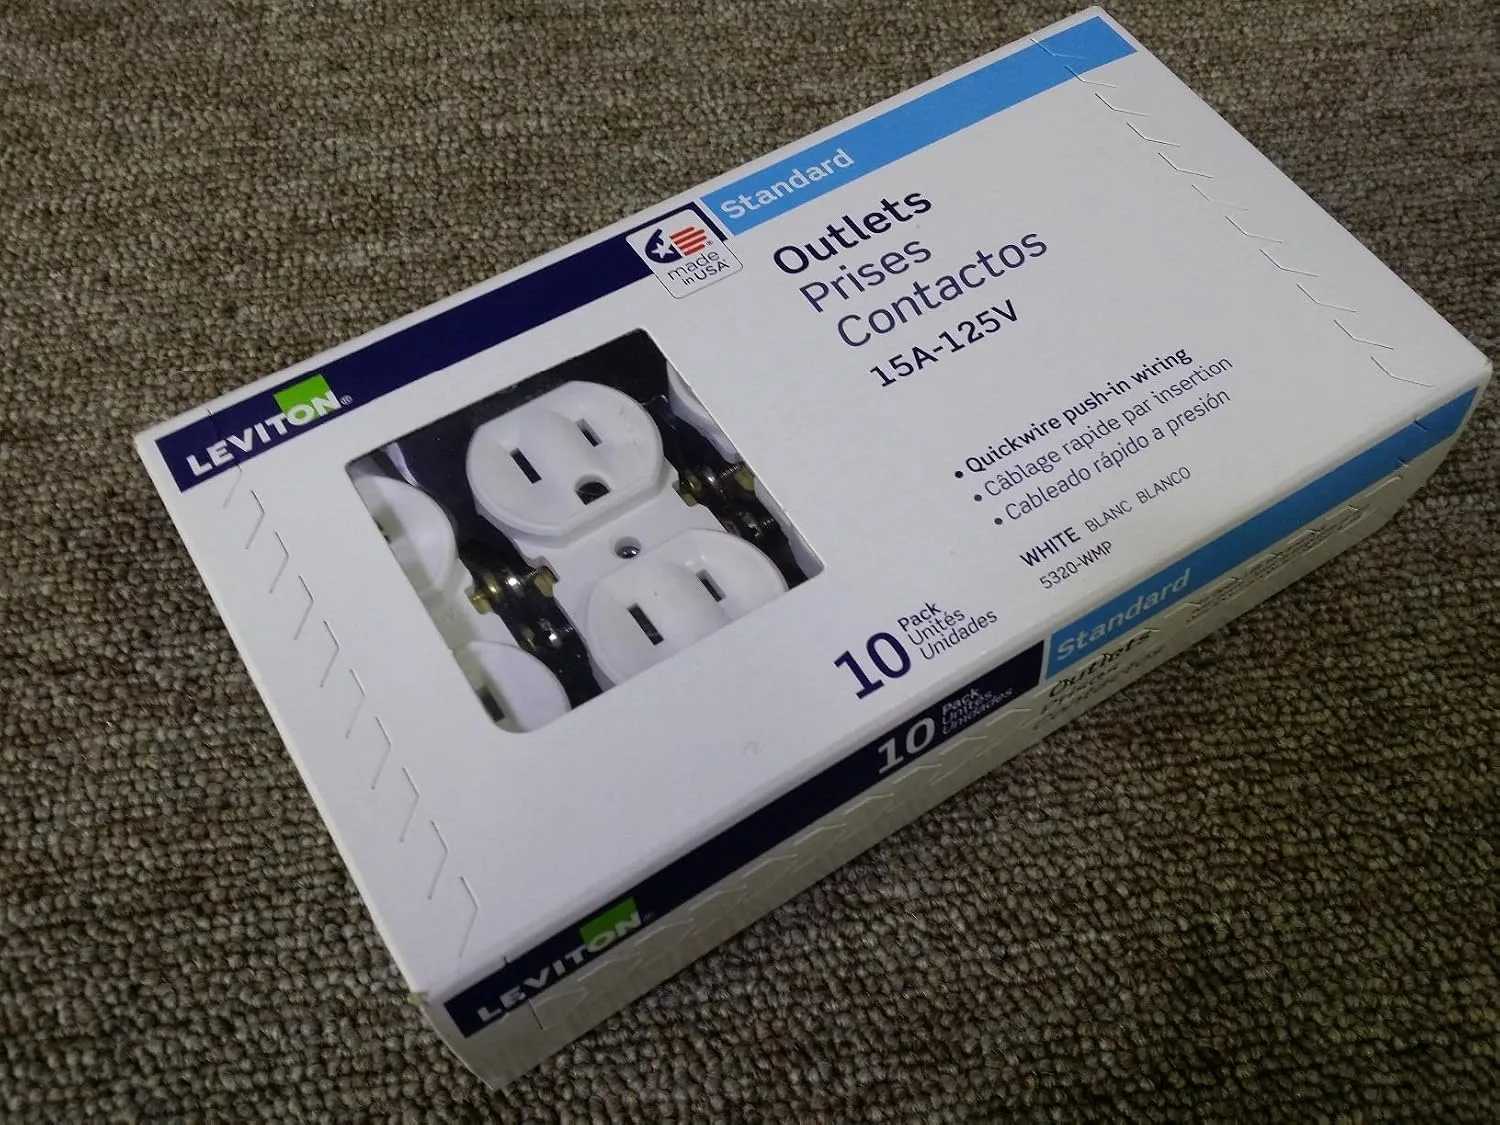
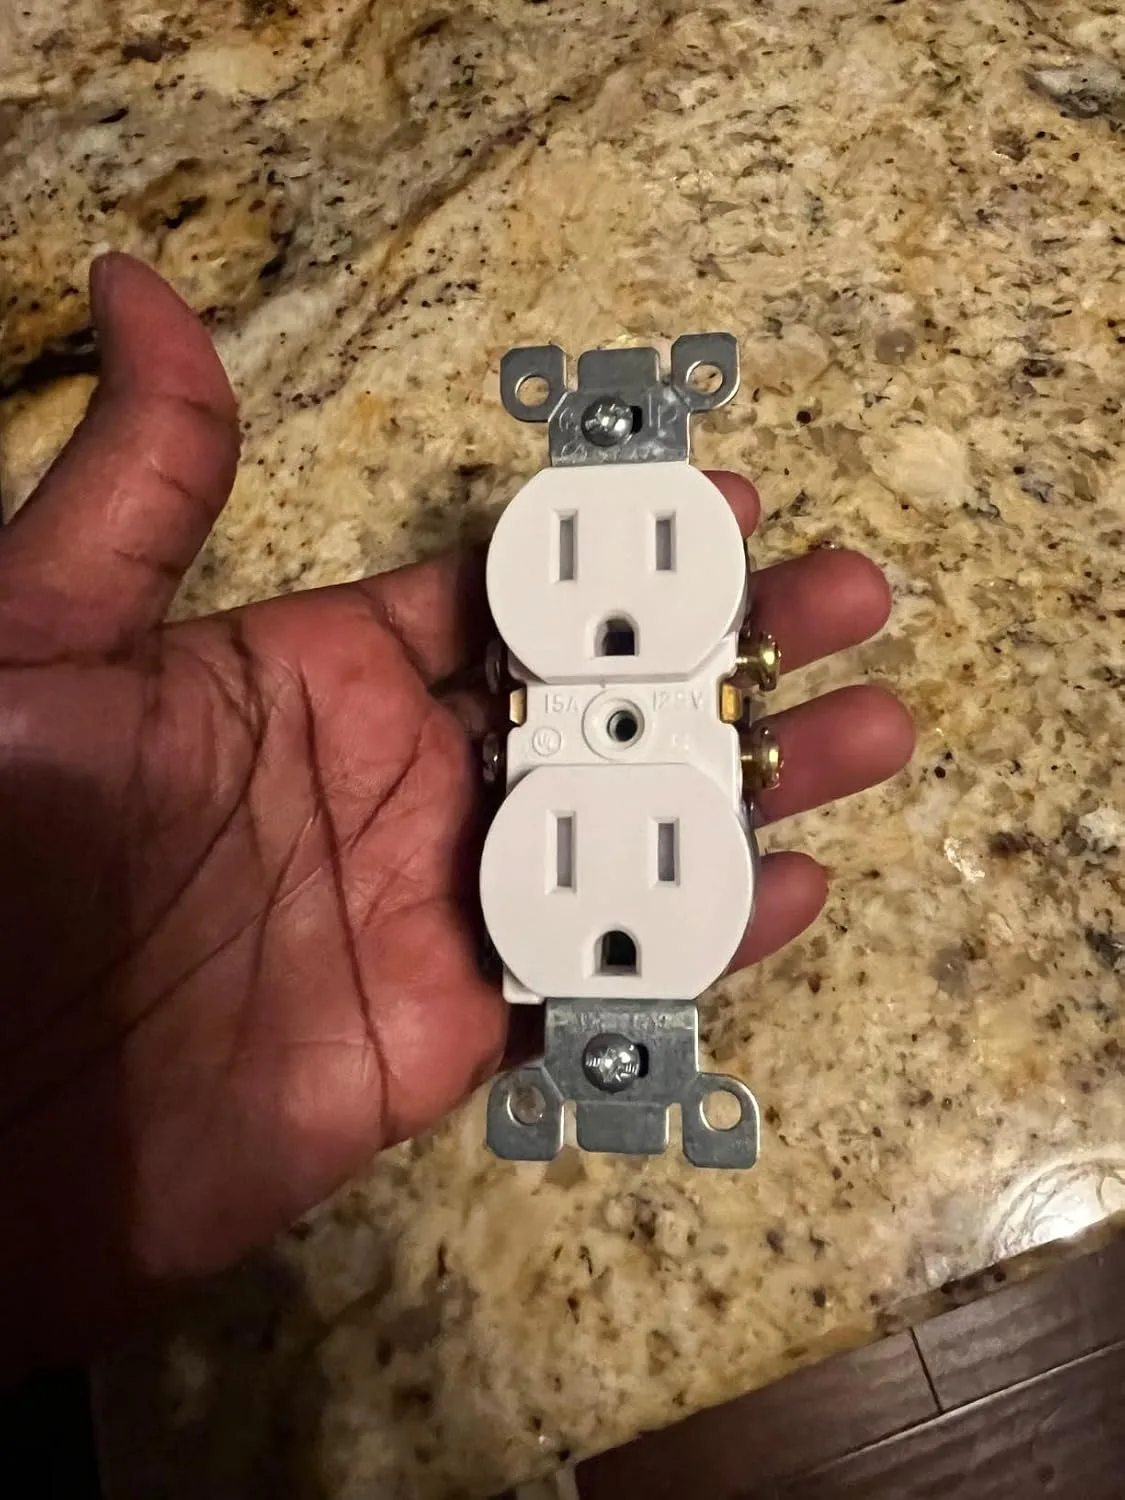
I’ll admit, when I first started spec’ing these on every job, I worried about the cost adding up across a whole-house rewire. But one house fire scare later, I realized the $15 difference per outlet was the cheapest insurance I could buy. Grab a Leviton 5320-WMP 15 Amp 125 Volt Duplex Receptacle, 10-Pack and you’ll have the same outlets I use on every service call.
Frequently Asked Questions
Why do backstabbed outlets fail more than side-wired ones?
Backstab holes rely on a thin stamped-metal spring to grip the wire. Heat cycles from normal electrical load cause the wire and clamp to expand and contract repeatedly, fatiguing the metal and loosening the grip. This creates high-resistance connections that arc and overheat. Screw terminals apply direct mechanical clamping force across a larger surface area and don’t fatigue the same way.
What are signs of a failed backstab outlet?
Look for outlets that work intermittently under load, breakers tripping without obvious overload, a faint burning smell near outlets, warm-to-touch outlet faces, visible discoloration or melting, or dead outlets downstream on the same circuit. A failed backstab connection in one outlet can break the chain and kill everything fed after it, even three devices upstream.
Can I replace backstabbed outlets myself?
Yes, if you’re comfortable with basic electrical work. Turn off the breaker and verify it’s off with a non-contact voltage tester. Disconnect the backstabbed wires, then connect them to the screw terminals of a new side-wire outlet: black to brass, white to silver, ground to green. The whole process takes about 15 minutes per outlet. However, stop immediately if you find aluminum wiring and call a licensed electrician.
How do I properly wire a side-wire outlet?
Strip exactly 3/4 inch of insulation from the wire. Wrap the wire clockwise around the brass or silver screw so tightening pulls it tighter, not looser. Torque to the device spec — most residential receptacles require 12 inch-pounds. Don’t overtighten, which can crack the terminal. Never use backstab holes on any receptacle, even if screw terminals are also present.
About This Article

Written by Marc Reeves. Marc Reeves is an electrician with 12 years of hands-on residential and light commercial experience. He started Panels & Plugs to help homeowners make smarter decisions about their electrical systems and renewable energy upgrades, including knowing exactly when a job needs a permit and a licensed pro. More about this site.
Scope and limits. Marc is a homeowner who studies residential electrical systems, not an electrician. Anything behind the panel, on a hardwired circuit, or subject to permit and inspection belongs with a licensed electrician.
Verify this against a primary source
Specifics change, and your situation may differ from the one described here. These are the authorities worth checking directly:
- NFPA — the National Electrical Code (NFPA 70)
- Electrical Safety Foundation — residential electrical safety guidance
- CPSC — product recalls and electrical hazard notices