The most expensive generator mistake I see homeowners make isn’t buying too small — it’s buying way too big. I’ve been a licensed electrician for 12 years, and I’ve walked into homes where someone dropped $4,000 on a 15,000-watt generator to power a 1,400-square-foot house. Knowing how to size a generator for your house correctly saves you real money upfront and on fuel costs every time the lights go out.
Last spring, I had a client in central Ohio call me in a panic. He’d bought a massive standby unit based on his neighbor’s recommendation. The neighbor had a workshop with three-phase equipment. My client had a ranch house with gas heat. He’d massively oversized his system and overpaid by roughly $2,500. That conversation inspired me to write this guide.
I’m going to walk you through exactly how I size generators for my clients — the same process I use on every service call. No fluff, no vague “it depends” answers. Just a clear, step-by-step method that gets you the right unit without wasting your budget.
Why Generator Sizing Matters More Than You Think
Oversizing wastes fuel and money. Undersizing causes generator damage. Neither outcome is acceptable, and both are completely avoidable with a little math. A generator running under 50% load for extended periods actually “wet stacks” — unburned fuel deposits build up in the exhaust. I’ve seen this destroy engines that were barely two years old.
Undersizing creates a different problem. Motor-driven loads — your AC compressor, refrigerator, well pump — draw 2x to 3x their running wattage at startup. That’s called inrush current. If your generator can’t handle it, the breaker trips or, worse, the generator stalls and you lose everything you were trying to protect.
In my experience, most households fall into one of two categories: essential-only backup or whole-home backup. Knowing which camp you’re in before you shop is the first decision you need to make. It shapes everything else.
How to Size a Generator for Your House: The Load Calculation Method
Start with a load list. I literally hand clients a clipboard and ask them to walk every room. Write down every appliance you need running during an outage. Don’t guess — pull the data plates off appliances or check the manufacturer specs online. Here’s what a typical essential-load list looks like for a 2,000-square-foot home:
- Central AC (3-ton unit): 3,500W running / 9,000W starting
- Refrigerator: 150W running / 600W starting
- Sump pump (1/2 HP): 800W running / 1,300W starting
- Well pump (1 HP): 1,000W running / 2,100W starting
- Lighting (LED throughout): 300W running
- Phone chargers, TV, router: 200W running
Add up the running wattage. That’s your continuous load. For this example, that’s roughly 6,000 watts. Then identify your single largest motor load — typically the AC — and add its starting wattage to the running total of everything else. That peak number determines your required generator output.
Running Watts vs. Peak Watts: Don’t Confuse Them
Generator specs list two numbers: running (rated) watts and peak (surge) watts. Running watts is what the unit sustains continuously. Peak watts is what it can deliver for a few seconds during motor startup. You need both numbers to do this correctly.
Here’s the rule I use in the field: size for your continuous load, then verify the peak watts handle your largest motor start. If the peak wattage isn’t high enough, that AC compressor will stall the generator every single time it kicks on. I learned this the hard way on a job in 2016 when I spec’d a generator that was technically “big enough” on paper but tripped every time the well pump cycled. The client wasn’t happy, and I had to swap the unit at my own expense.
Always build in a 20% headroom buffer above your calculated continuous load. Generators run more efficiently, cooler, and last longer when they’re not maxed out. That buffer also gives you room if you add a load you forgot about.
Essential Load vs. Whole-Home Backup: Choosing Your Coverage Level
Essential-load backup means you’re powering the critical stuff: refrigerator, one or two circuits, a pump, and maybe a window AC unit. For this approach, a 5,000–7,000 watt generator covers most households comfortably. Fuel consumption stays low. Operating costs stay manageable. This is the right choice if outages in your area last less than 24 hours.
Whole-home backup is a different ballgame. You’re keeping the central HVAC running, the electric range or oven available, the electric water heater potentially online, and all the lights on. For a 2,000-square-foot home with electric heat or a large AC system, you’re typically looking at 10,000–12,500 running watts. That’s a significant jump in generator size and fuel cost.
Specifically, if your home uses natural gas for heat and cooking, your electrical demand drops dramatically. Gas appliances running on utility gas during an outage mean you only need to power the furnace blower, the AC, and your standard household circuits. That profile often lands in the 8,000–10,000 watt range. Electric-only homes need more capacity.
Electric Heat and Electric Ranges: The Big Wattage Wildcard
Electric resistance heat is the single biggest load in most homes. A standard electric furnace draws 10,000–15,000 watts on its own. Running it off a portable generator is often impractical. However, a heat pump is more efficient — typically 3,000–5,000 watts. That’s a manageable load if sized correctly.
Electric ranges draw 8,000–12,000 watts at full capacity. I typically advise clients to treat the range as a non-essential load during outages. Use a camp stove or gas grill for cooking. That decision alone can drop your required generator size by 3,000–4,000 watts — a meaningful cost savings at purchase time.
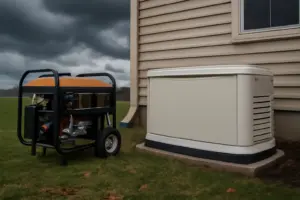
The Generator I Recommend for Most Homes
After sizing hundreds of residential generator installations, I keep coming back to one unit for whole-home portable backup: the Westinghouse 12500 Watt Dual Fuel Home Backup Portable Generator. I’ve installed this unit for four clients in the last 18 months alone. Here’s why I recommend it without hesitation.
The 12,500-watt peak and 9,500-watt running output on gasoline hits the sweet spot for whole-home coverage on most 2,000–3,000 square foot homes. Switch to propane and you get 11,200 peak / 8,500 running — still excellent. Dual fuel is genuinely valuable. During the 2021 winter storm events I responded to in my area, gasoline disappeared from shelves within hours. Clients with propane hookups kept running. That flexibility is worth paying for.
The remote electric start is a real convenience feature, not just a marketing checkbox. I’ve had clients — particularly elderly homeowners — who simply cannot pull-start a large generator in cold weather. The remote start works reliably at distances up to 100 feet. The transfer switch ready panel is a 120/240V setup that connects cleanly to a manual transfer switch. I’ve paired this unit with a 10-circuit manual transfer switch on multiple jobs without any compatibility issues.
Runtime is solid: roughly 12 hours at 50% load on an 8.3-gallon tank. For a three-day outage, that’s a predictable fuel budget you can plan around. The unit also meets EPA and CARB emissions standards, which matters in states like California where portable generator regulations are tightening.
The Budget-Friendly Alternative for Essential Loads
Not everyone needs 12,500 watts. If you’ve done your load calculation and landed in the 5,000–6,500 watt range, the Westinghouse 6600 Watt Dual Fuel Portable Generator is a strong runner-up. It carries the same dual-fuel capability, remote start, and transfer switch readiness as its bigger sibling. The added CO sensor is a legitimate safety feature I appreciate — carbon monoxide poisoning from portable generators kills dozens of people annually in the United States.
For a household that just needs the fridge, sump pump, a few lights, and device charging covered, this unit handles the job efficiently at a lower price point and lower fuel consumption. In my experience, renters and smaller households get excellent value from this size class.
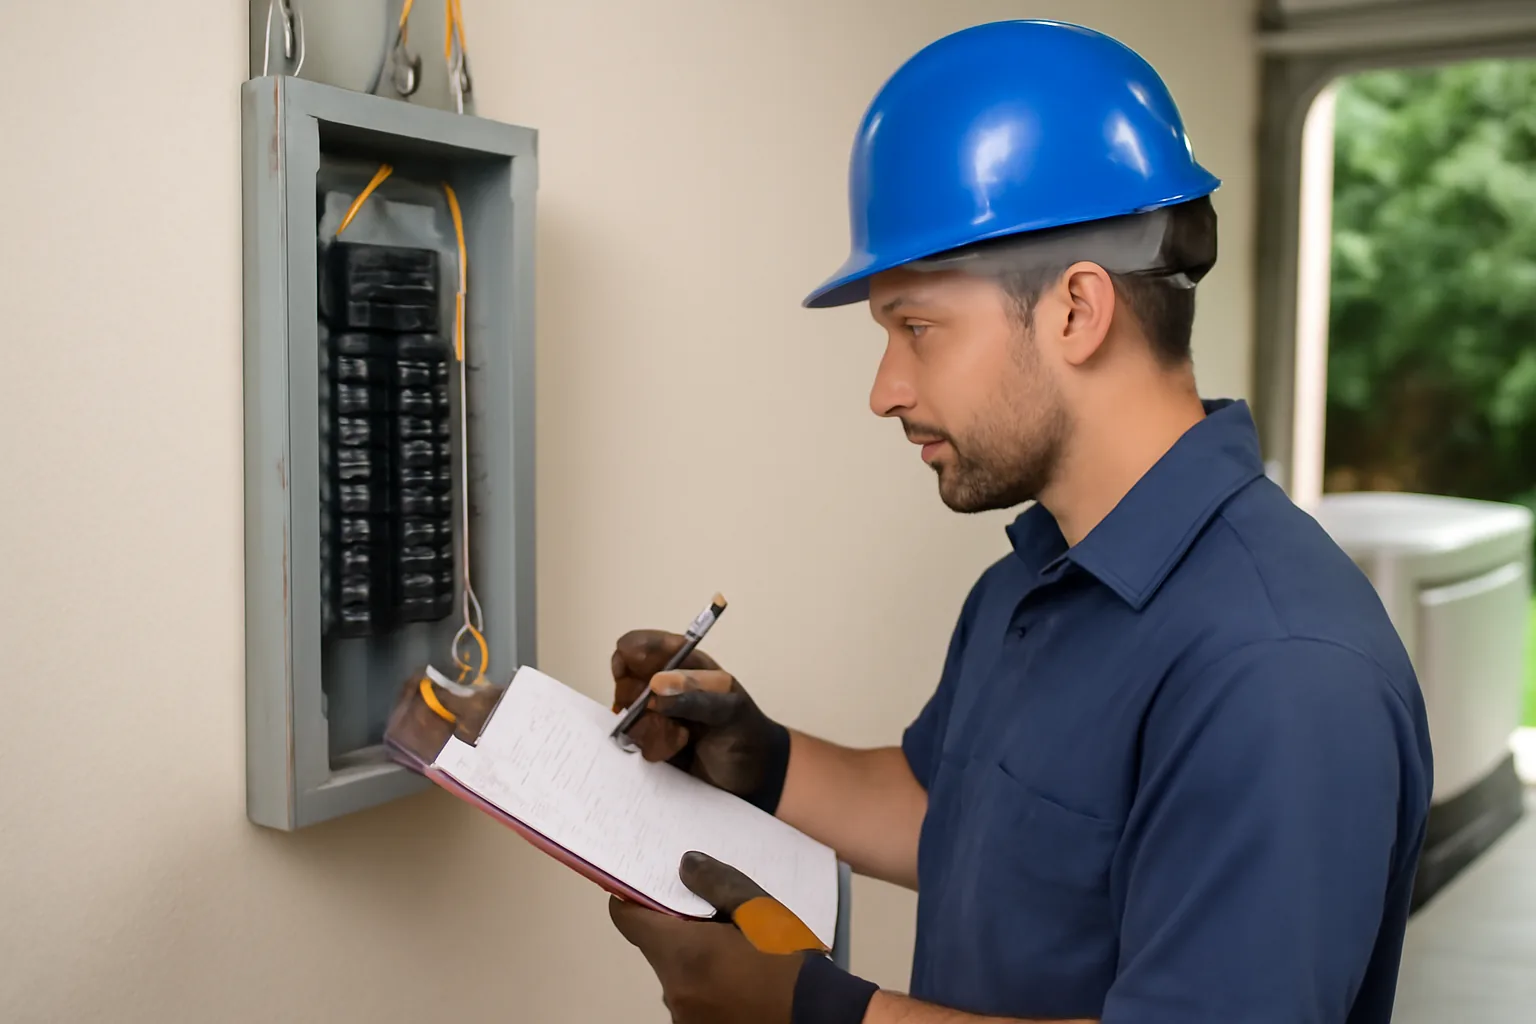
Transfer Switches and Safe Connection: Don’t Skip This Step
A generator connected directly to your home panel without a proper transfer switch is a back-feed hazard. It can energize the utility lines and kill a lineman working to restore power in your neighborhood. This isn’t a theoretical risk — the NEC (National Electrical Code) Article 702 governs optional standby systems specifically because this danger is real and documented.
A manual transfer switch typically costs $200–$500 installed for a 6–10 circuit unit. An automatic transfer switch (ATS) runs $500–$2,000 installed, depending on amperage rating and complexity. For portable generators, a manual transfer switch is the standard solution. It’s reliable, code-compliant, and straightforward to operate.
The alternative is a properly rated generator interlock kit installed on your main panel. Interlocks cost $50–$150 and allow you to use a 30-amp inlet to feed your whole panel — with the main breaker locked off. That setup is also NEC-compliant when installed correctly. However, the load management discipline required is higher, since you’re manually tracking which breakers are on. For most homeowners, the dedicated transfer switch is the cleaner solution.
When to Call a Licensed Electrician
I’ll be direct here: the generator itself can be a DIY purchase and DIY setup on extension cords for basic use. The moment you’re connecting it to your home’s wiring system, you need a licensed electrician. Full stop. This isn’t me protecting my business — it’s me protecting you from a code violation, a failed inspection, or a fire.
Specifically, you need a pro for any of the following:
- Installing a transfer switch or interlock kit on your main panel
- Running a dedicated generator inlet (the L14-30 or L14-50 receptacle on the exterior of your home)
- Any work inside the main electrical panel
- Connecting a propane fuel line (requires a licensed plumber or LP gas contractor in most states)
- Verifying your generator installation meets local permit requirements
A typical generator hookup installation — inlet box, transfer switch, and panel connections — runs $400–$900 in labor depending on your region. That’s a small number relative to a $2,000+ generator purchase. Budget for it from the start.
Final Thoughts on How to Size a Generator for Your House
Getting how to size a generator for your house right comes down to three things: an honest load list, understanding the difference between running and starting watts, and choosing the right coverage level for your needs. Do those three things and you will not overbuy or underbuy. It really is that straightforward once you have the framework.
My go-to recommendation for whole-home portable backup remains the Westinghouse 12500 Watt Dual Fuel Generator. It covers the vast majority of residential whole-home backup scenarios, the dual-fuel flexibility is genuinely useful, and I’ve seen it perform reliably across multiple installations in real outage conditions. For smaller essential-load applications, the Westinghouse 6600 Watt model delivers the same quality at a lower price point.
Take 30 minutes to do your load calculation before you shop. Write down the wattage of every appliance you need. Add the numbers. Build in 20% headroom. Then buy exactly the generator that fits that number — not the biggest one on the shelf. Your wallet and your generator’s engine will both thank you.
This post contains affiliate links. As an Amazon Associate, I earn from qualifying purchases at no extra cost to you.