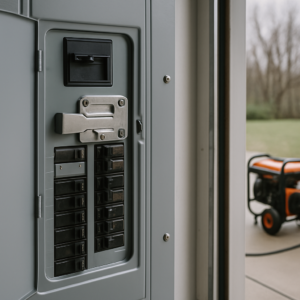
I would guess nine out of every ten panels I open have at least one breaker labeled wrong, and about half have labels that are flatly useless—”misc,” “??,” or a room that got renovated a decade ago. A mislabeled panel is not just an inconvenience; it is a real safety issue when someone needs to kill power fast, and it is one of the cheapest, fastest fixes I can hand a homeowner in twenty minutes. After 12 years troubleshooting residential electrical systems, I can tell you that knowing how to label breaker panel correctly is one of the most underrated safety upgrades you can make.
Here is what I have learned on job sites: the homeowner who knows exactly which breaker controls the kitchen outlet is the one who avoids an electrocution risk when water spills near the sink. The property manager who has a current, legible panel map is the one who does not call me at 11 p.m. because someone killed power to the wrong circuit and left a freezer offline for six hours. And the person selling a house with a clearly labeled panel? That home inspector notices, and so does the buyer’s electrician.
Why Most Homeowners Get Panel Labels Wrong
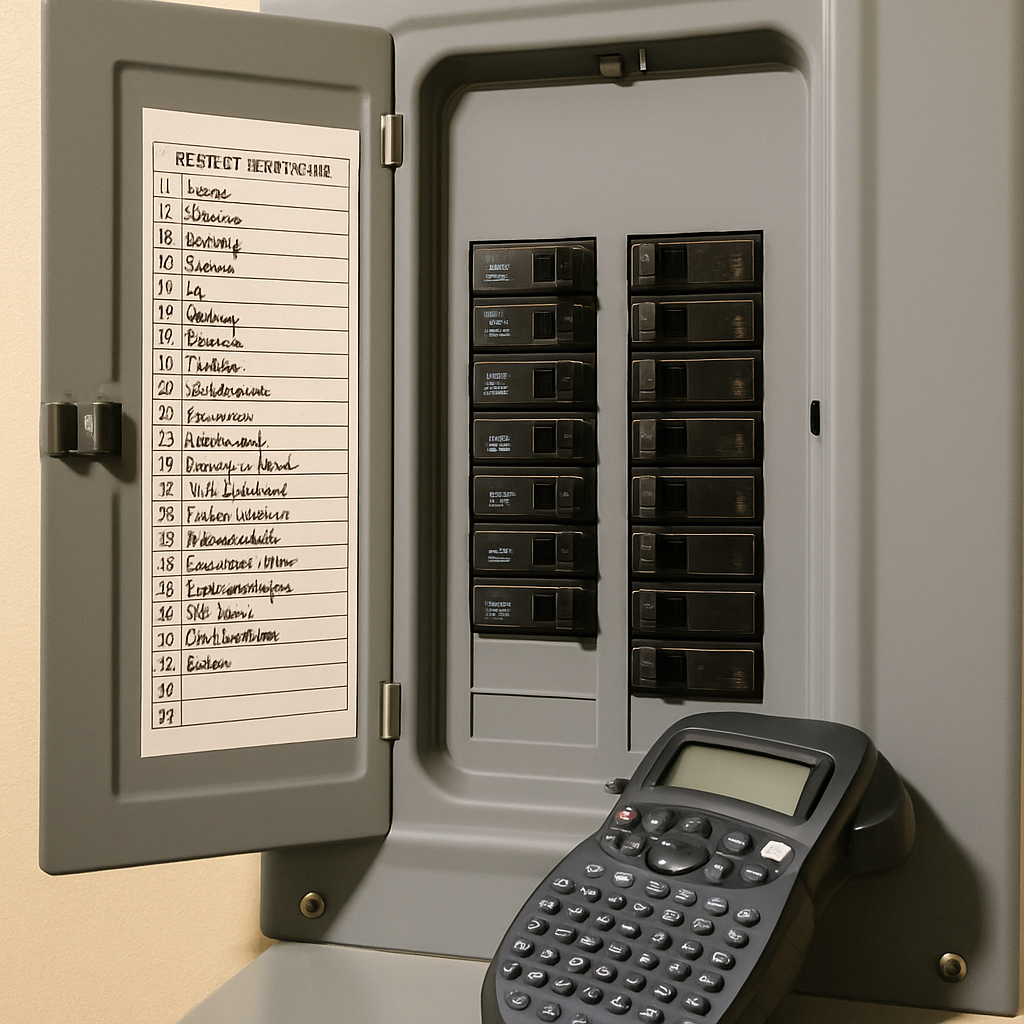
The reason labeling fails is simple: most panels are labeled once, during initial construction or the last major renovation, and then nobody touches them again. Life happens. You finish the basement, rewire the master bedroom, add a 20-amp circuit for the home office. The old label stays. Or it gets peeled off and replaced with something vague because the person doing the work did not document what they actually connected.
I learned this the hard way about eight years ago when I was called to a house where the homeowner’s teenager had gotten a shock from what was supposed to be a dead circuit. The panel label said “guest bedroom,” but the circuit actually fed a bathroom outlet that had been rewired during a renovation. The old label had never been updated. That moment reinforced something I tell every client now: an outdated label is worse than no label at all because it gives you false confidence.
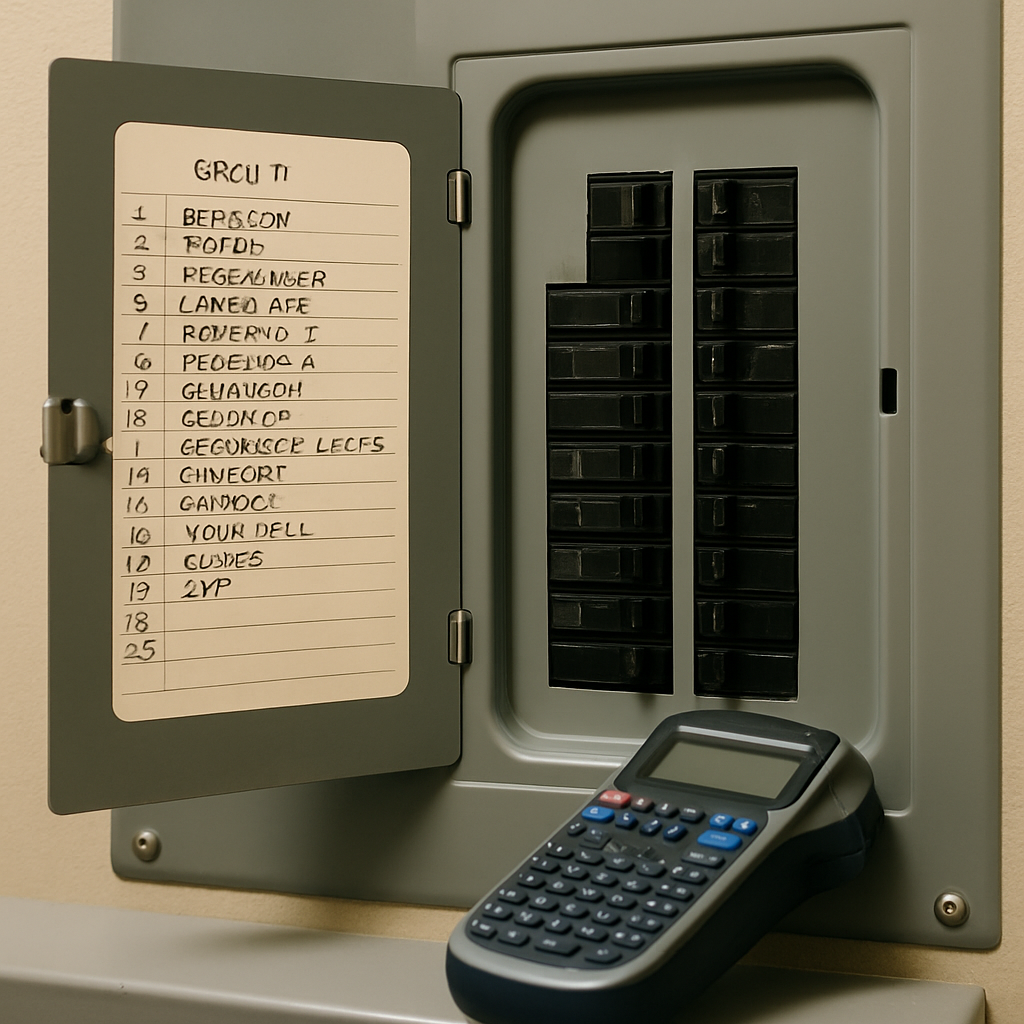
The second reason labels fail is legibility. I have opened panels where labels were written in pencil, faded to invisibility. I have seen labels printed on cheap label stock that peeled away after six months of attic humidity. And I have found handwritten labels so messy that “Living Room” looks like “Loving Rube” and you cannot tell if circuit 12 is a 15-amp or a 50-amp breaker by reading the cramped notation underneath.
The Right Way to Label a Breaker Panel
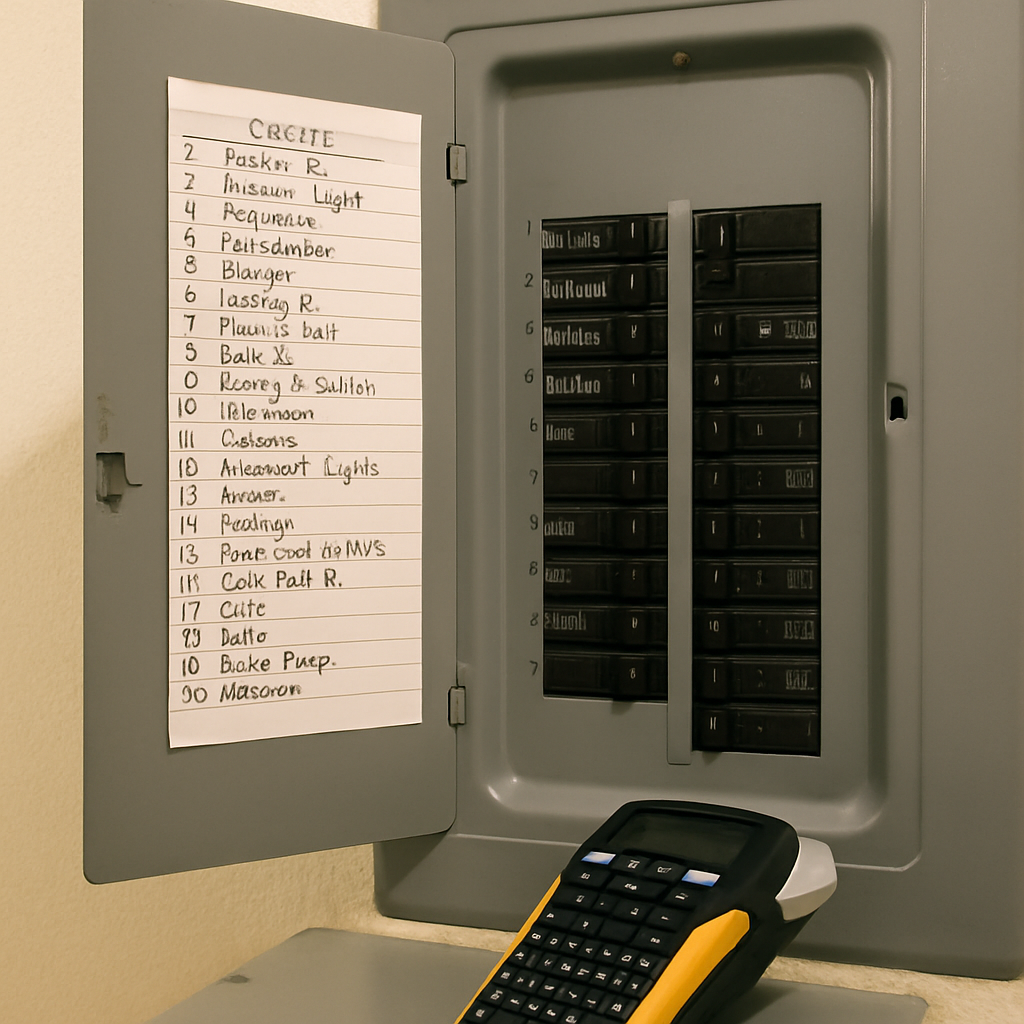
Here is my process, the same one I have used on hundreds of panels. It takes about 20 minutes for a typical 100 to 200-amp residential service.
Step 1: Map the Circuits Accurately
Turn off each breaker one at a time and walk the house with a phone flashlight or a portable power tester. Note what goes dark or dead. Write down the breaker position (top-left, middle-right, whatever), the breaker amperage (15, 20, 30, 50 amp), and what it controls. This is the only way to know for certain. Do not rely on old labels or your memory.
For a 200-amp main panel, you might find breakers ranging from 15-amp single-pole breakers for lighting circuits up to 50-amp double-pole breakers for an electric range or dryer. Most kitchen circuits will be 20-amp, most bedroom and living areas 15-amp. If you find a breaker labeled but nothing happens when you flip it, mark it as “vacant” or “spare”—do not assume it is dead.
Step 2: Use Durable, Clear Label Stock
This is where most homeowners go wrong. They use a ballpoint pen and a piece of masking tape. Six months later, the tape is curling, the ink has faded, and the label is unreadable. Instead, use weatherproof label stock—the kind sold for outdoor or industrial use. It costs about fifteen dollars for a roll of 100 labels at any hardware store. Get labels large enough to write legibly. You want to read the label in a dark basement without squinting.
Print if you can. If you hand-write, use a permanent marker and press hard. I have switched to printed labels because a label maker or a printed template reduces error and ensures consistency. Your handwriting might be fine in daylight, but when an electrician or a homeowner is troubleshooting at night, clarity matters.
Step 3: Be Specific, Not Generic
Here is where experience guides the choice. Do not write “Upstairs.” Write “Master Bedroom Outlets” or “Master Bath Lighting.” Do not write “Kitchen.” Write “Kitchen Counter Outlets—Left Side” or “Kitchen Refrigerator.” If a circuit serves both lighting and outlets in a single room, write both. “Hallway Lighting & Outlets” is clear. “Hallway” is not.
And always include the breaker amperage and wire gauge on the label if there is space. “Kitchen Counter Outlets—20A” tells the next electrician exactly what you have. This matters because a 20-amp breaker should have 12-gauge wire, and a 15-amp breaker should have 14-gauge. If someone ever needs to replace a breaker or add a device, they will know the circuit capacity immediately.
Step 4: Create a Backup Panel Map
Take a clear photo of the inside of your panel with all labels visible, and store it on your phone or in the cloud. Better yet, print a simple one-page diagram showing which breaker is which and post it inside the panel door, on the inside of a cabinet near the panel, or in a home file. I have had homeowners text me a photo of their panel when they had a question about whether a circuit could handle a new load. That backup map saved them a service call.
NEC Code and What the Rules Actually Say
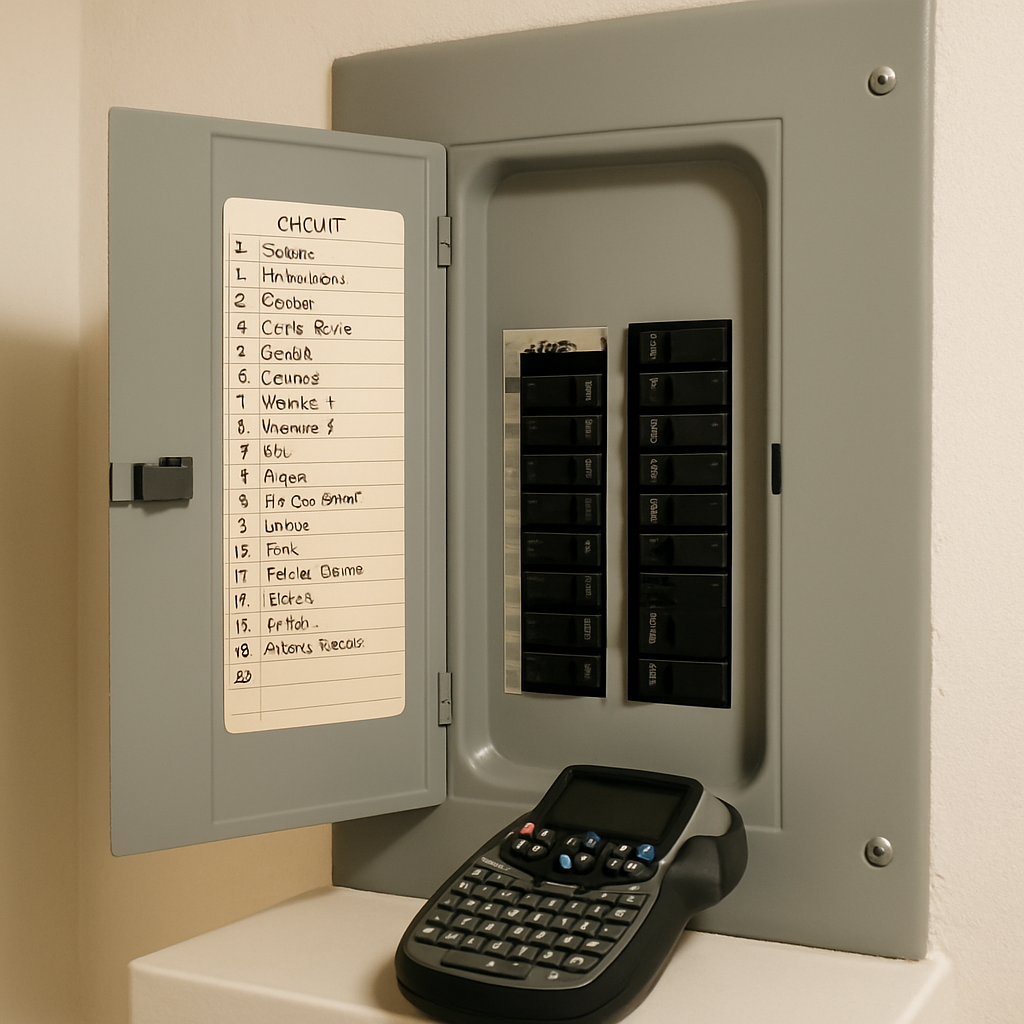
The National Electrical Code, specifically NEC Article 408.4, requires that every breaker be legibly identified as to the circuit or equipment it controls. That is the rule. “Legibly” means you can read it without special tools or strain. The code does not specify a particular label material or method, but it does mean that faded pencil on masking tape does not meet code. If your home is being inspected—whether for sale, renovation permit, or insurance purposes—an inspector will note illegible or missing labels as a code violation.
More importantly, the code exists because electricity is dangerous. A firefighter entering your home during an emergency needs to know which breaker cuts power to the kitchen so they can work safely around appliances. Your spouse needs to know which breaker to flip if the bathroom outlet sparks. You need to know which circuit feeds the basement so you do not accidentally leave a sump pump without power during a storm.
When to Call a Licensed Electrician
Relabeling a panel is a task most homeowners can do themselves. You are not working on live circuits; you are simply documenting what is already there and replacing old labels with new ones. If your breaker panel is a modern 100 or 200-amp service, the door is easy to open, and the layout is straightforward, this is a weekend job.
However, call a licensed electrician if any of the following apply:
- Your panel is older than 25 years, uses a fused disconnect, or has an unfamiliar design.
- You cannot safely open the panel door or access the breaker space without moving live components.
- You find circuits that do not work or seem incorrectly wired (wrong breaker size for the wire, for example).
- You suspect any labeling errors that might indicate a code violation or safety hazard.
- Your panel has been partially rewired or modified, and the history is unclear.
A licensed electrician can spend 30 to 45 minutes mapping and relabeling your panel correctly. The cost is typically between 100 and 200 dollars depending on your location and the complexity of your service. That is a bargain compared to the risk of a shock, a fire, or an emergency that you cannot respond to quickly because you do not know which breaker to flip.
My Recommendation: Do It Now, Before You Need It
Here is the truth I have learned after 12 years: nobody thinks about their breaker panel until something goes wrong. Then suddenly, it is 11 p.m., the power is out, or an outlet has gone dead, and now you are fumbling in a dark basement trying to read a label that was written ten years ago. Or worse, an electrician or inspector opens your panel and immediately starts making notes about code violations.
Take 20 minutes this weekend. Walk your house with a flashlight. Open your breaker panel. Map it. Get a roll of weatherproof labels. Label it correctly and durably. Take a photo and store it. This one small task eliminates an entire category of electrical emergencies and tells any professional who ever works on your home that you take safety seriously.
It is cheap. It is fast. It is safe to do yourself. And it is one of the best investments in home safety you can make.
This post is for informational and educational purposes only and is not a substitute for a licensed electrician. Never work on live circuits, and always pull a permit and have work inspected where required. If you are unsure about any step, stop and call a licensed electrician.Frequently Asked Questions
What does NEC Article 408.4 require for breaker panel labels?
NEC Article 408.4 requires that every breaker be legibly identified as to the circuit or equipment it controls. Legibly means you can read it without special tools or strain. Faded pencil on masking tape does not meet code, and an inspector will note illegible or missing labels as a code violation.
How long does it take to relabel a breaker panel correctly?
Relabeling a typical 100 to 200-amp residential service takes about 20 minutes. The process includes mapping circuits accurately, replacing old labels with durable stock, and creating a backup panel map. A licensed electrician typically spends 30 to 45 minutes if mapping and relabeling are done by a professional.
What should I write on breaker panel labels instead of generic names?
Be specific: write “Master Bedroom Outlets” instead of “Upstairs,” or “Kitchen Counter Outlets—Left Side” instead of “Kitchen.” Always include the breaker amperage and wire gauge if space allows, such as “Kitchen Counter Outlets—20A.” This tells the next electrician exactly what the circuit controls and its capacity.
When should I call an electrician instead of relabeling my panel myself?
Call a licensed electrician if your panel is older than 25 years, uses a fused disconnect, has an unfamiliar design, you cannot safely access the breaker space, you find circuits that do not work or seem incorrectly wired, or you suspect labeling errors indicating code violations or safety hazards. The cost is typically between 100 and 200 dollars depending on location and complexity.
About This Article

Written by Marc Reeves. Marc Reeves is an electrician with 12 years of hands-on residential and light commercial experience. He started Panels & Plugs to help homeowners make smarter decisions about their electrical systems and renewable energy upgrades, including knowing exactly when a job needs a permit and a licensed pro. More about this site.
Scope and limits. Marc is a homeowner who studies residential electrical systems, not an electrician. Anything behind the panel, on a hardwired circuit, or subject to permit and inspection belongs with a licensed electrician.
Verify this against a primary source
Specifics change, and your situation may differ from the one described here. These are the authorities worth checking directly:
- NFPA — the National Electrical Code (NFPA 70)
- Electrical Safety Foundation — residential electrical safety guidance
- CPSC — product recalls and electrical hazard notices