The single most common callback I get on a dimmer install isn’t a dead switch — it’s a homeowner telling me their new LED bulbs flicker, pulse, or buzz after they swapped in a dimmer that “should” work. Almost every time, the problem traces back to the same handful of mismatches: the wrong dimming technology for the LED driver inside the bulb, not enough load on the circuit, or a switch that was never rated for LEDs in the first place. After 12 years troubleshooting residential electrical systems, I’ve learned that LED dimmer compatibility isn’t about guessing or hoping — it’s about understanding how the switch talks to the driver inside the bulb. This isn’t about smart, WiFi-connected dimmers — it’s about the ordinary paddle or slide dimmer already on the wall, the GFCI-combo dimmer in a bathroom, the touch dimmer on a lamp circuit, and the dimmer feeding a bank of retrofit can lights. Here’s how I diagnose it and what actually fixes it.
Why LEDs Flicker, Pulse, or Buzz on a Dimmer at All
Let me start with the core physics, because once you understand this, the fixes stop feeling like guesswork.
An incandescent bulb works because a resistive filament resists current flow, glowing hotter as voltage drops and dimmer as you reduce that voltage. Dimmers just turn the knob down, voltage drops, filament cools, light dims. Simple. The dimmer doesn’t care how much voltage it sends — the filament handles it.
An LED bulb, by contrast, has a small circuit board inside called a driver. That driver needs a minimum voltage and current to function. Below that threshold, it can’t regulate power to the LEDs and starts behaving erratically — flickering, pulsing, buzzing. It’s not the bulb failing; it’s the driver shutting down or oscillating because the dimmer is sending it signal it can’t interpret or insufficient power to sustain.
Here’s where LED dimmer compatibility gets real: the dimmer has to send a signal the driver understands, and it has to send enough power for the driver to stay online. Get either wrong, and you get flicker. I’ve inspected homes where the homeowner bought a $12 dimmer from a big-box store, installed six $3 LED bulbs, and every single one flickered. The dimmer was technically rated for “dimmable LEDs,” but the driver inside each bulb couldn’t parse the signal the dimmer was sending.
PWM vs. Phase-Cut Dimming: Which Technology Works With Which LEDs
This is the technical heart of LED dimmer compatibility, and it’s where most cheap dimmers fail.
There are two main ways a dimmer tells an LED driver to dim:
- Phase-cut dimming — also called leading-edge or trailing-edge. The dimmer chops the AC waveform, reducing the average voltage sent to the bulb. Most standard wall dimmers (leading-edge) use this method. Trailing-edge is newer and gentler on electronics.
- PWM (pulse-width modulation) — the dimmer sends full voltage but turns it on and off very rapidly. The ratio of on-time to off-time controls brightness. PWM is what most modern LED drivers expect.
Here’s the incompatibility: an old leading-edge phase-cut dimmer was designed for incandescent and halogen loads. It reduces voltage. But many affordable LED drivers are designed for PWM signaling. When you connect them, the LED driver receives a signal it doesn’t recognize — the voltage is choppy, the driver oscillates, and you get flicker or buzz. The dimmer is working; the bulb driver just isn’t speaking the same language.
Trailing-edge dimmers are far more compatible with modern LED drivers because they handle the voltage reduction more elegantly and work better with constant-current drivers. That’s why, 12 years into this work, I almost always recommend trailing-edge dimmers for LED retrofits. The Lutron Diva LED+ Dimmer Switch and Lutron Ariadni/Toggler LED+ Dimmer both use trailing-edge technology and have excellent real-world compatibility across a wide range of LED drivers.
The takeaway: if your LED bulbs flicker on a standard (cheap) dimmer, the dimmer is almost certainly phase-cut leading-edge, and your LEDs need trailing-edge or a dimmer specifically rated as “LED-compatible” with proven driver compatibility.
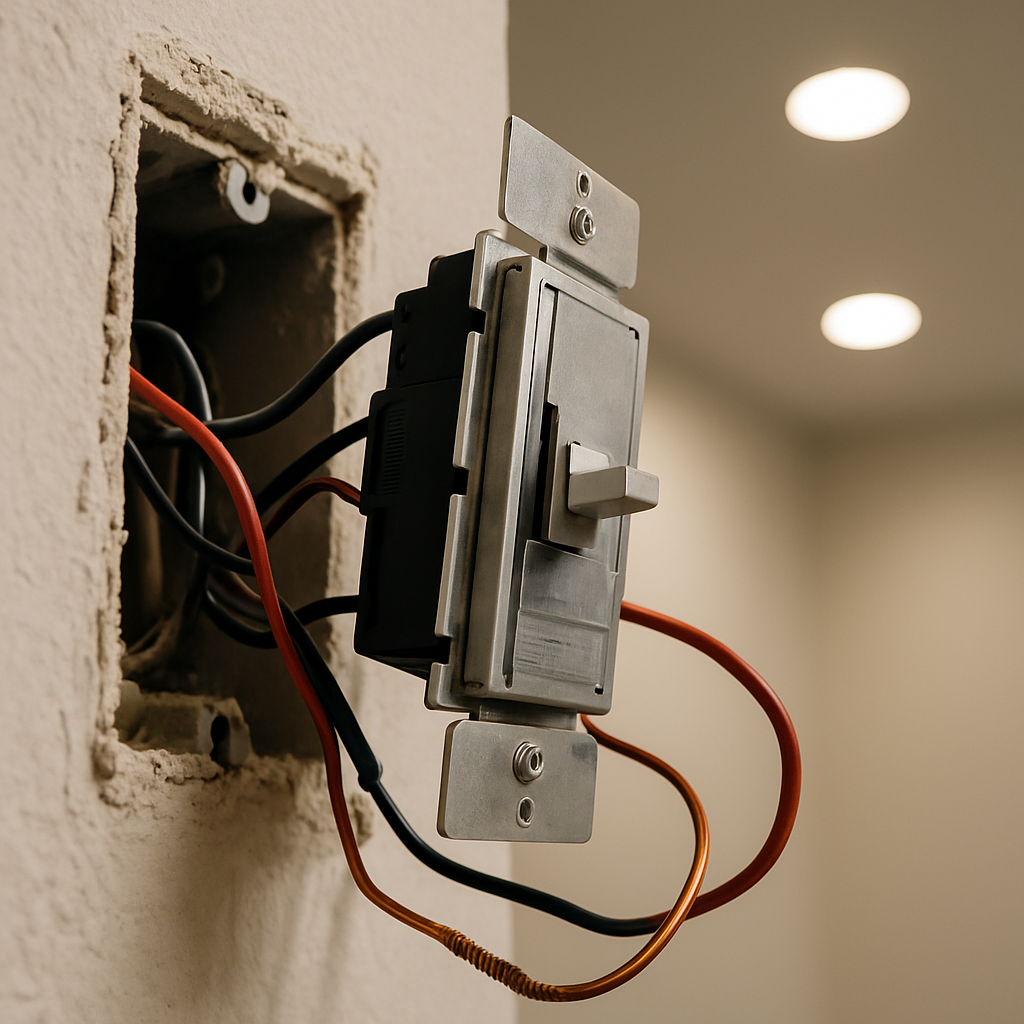
Minimum Load and Why a Single LED Bulb Can Break Your Dimmer
This one I learned the hard way. About eight years ago, I installed a dimmer on a bathroom vanity circuit and the homeowner called me back the next morning: the light would dim fine down to about 40%, then stop. Below that, it went black. Flicker, click, oscillate, off. I thought the dimmer was bad.
It wasn’t. The circuit had one 8-watt LED bulb. The dimmer had a minimum load requirement of about 40 watts.
Most dimmers — especially older ones — are designed to handle a certain minimum electrical load. For old incandescent dimmers, that’s typically 40 to 60 watts. Below that threshold, the dimmer doesn’t get enough current flowing through it to regulate properly. The dimmer’s internal electronics start hunting for balance, flickering or cutting out entirely. I’ve seen this a hundred times since: one or two low-wattage LED bulbs on a standard dimmer, and the circuit hits the minimum-load wall.
The solution is either a low-load-rated dimmer or a dummy load. I almost never recommend dummy loads to homeowners — they’re inelegant and eat power. Instead, buy a dimmer explicitly rated for low-wattage LED loads. The Leviton SureSlide LED Advanced Dimmer and Leviton Lever Edge 15 Amp Single Pole Rocker Switch, 10-Pack, E5601-MW, White both handle down to about 10 watts of dimmable load, which means you can dim a single low-wattage LED bulb without problem.
Check your dimmer’s spec sheet. If it doesn’t list a minimum load rating, assume it’s 40 watts and you’re playing with fire on a single-bulb LED circuit.
GFCI-Combo Dimmer Switches and LED Compatibility in Wet Locations
GFCI-combo dimmer switches — the kind you install in bathrooms and kitchens to get both ground-fault protection and dimming on one device — present their own LED dimmer compatibility headaches.
The problem is density. You’re cramming a GFCI circuit, a dimmer circuit, and protective electronics all into one little switch body. Heat dissipation becomes an issue. The dimmer portion often runs hotter and has tighter component tolerance. Many older GFCI-combo devices weren’t designed with LED drivers in mind — they assume incandescent or halogen loads.
In the field, I’ve found that GFCI-combo dimmers have a much lower success rate with LED bulbs than standard single-function dimmers. The flickering and buzzing complaints are higher. Some GFCI-combos do work with LEDs, but you have to verify it explicitly. The manufacturer data sheet should state “dimmable LED compatible” — not just “dimmable.” If it doesn’t say that, don’t assume it.
My advice: in wet locations, install a standard GFCI outlet or GFCI breaker upstream, then use a regular (non-combo) LED-rated dimmer switch downstream. You get the protection and the compatibility. Yes, it’s two devices instead of one, but you avoid the callbacks and the flicker.
Touch Dimmers and 3-Way LED Dimmer Circuits
Touch dimmers and 3-way dimmer setups change the LED dimmer compatibility equation because now you’re dealing with either capacitive sensing (touch) or multi-location switching.
Touch dimmers use a capacitive sensor to detect your finger and ramp brightness. The electronics are more complex, and the minimum load threshold is often higher. A touch dimmer that works fine with incandescent bulbs might flicker miserably with low-wattage LEDs because the capacitive circuit is sensitive and the dimmer’s power circuitry can’t sustain regulation at very low loads. If you have a touch dimmer and flickering LEDs, the minimum load is my first suspect.
3-way dimmers (where you have dimmer switches in two locations) introduce a different problem: incompatibility between the master and slave units if they’re not designed as a matched pair. A trailing-edge master dimmer paired with a leading-edge slave is asking for flicker. Every 3-way dimmer system I’ve installed with LED bulbs has been sold as a matched pair — never mixing brands or generations. The Lutron Diva LED+ comes in 3-way configurations, as does the Lutron Ariadni/Toggler LED+, and both are engineered to work together.
Bottom line on 3-way: buy a 3-way dimmer kit from the same manufacturer, not two single-pole dimmers wired in 3-way configuration. The compatibility is in the engineered pairing, not in the individual switches.
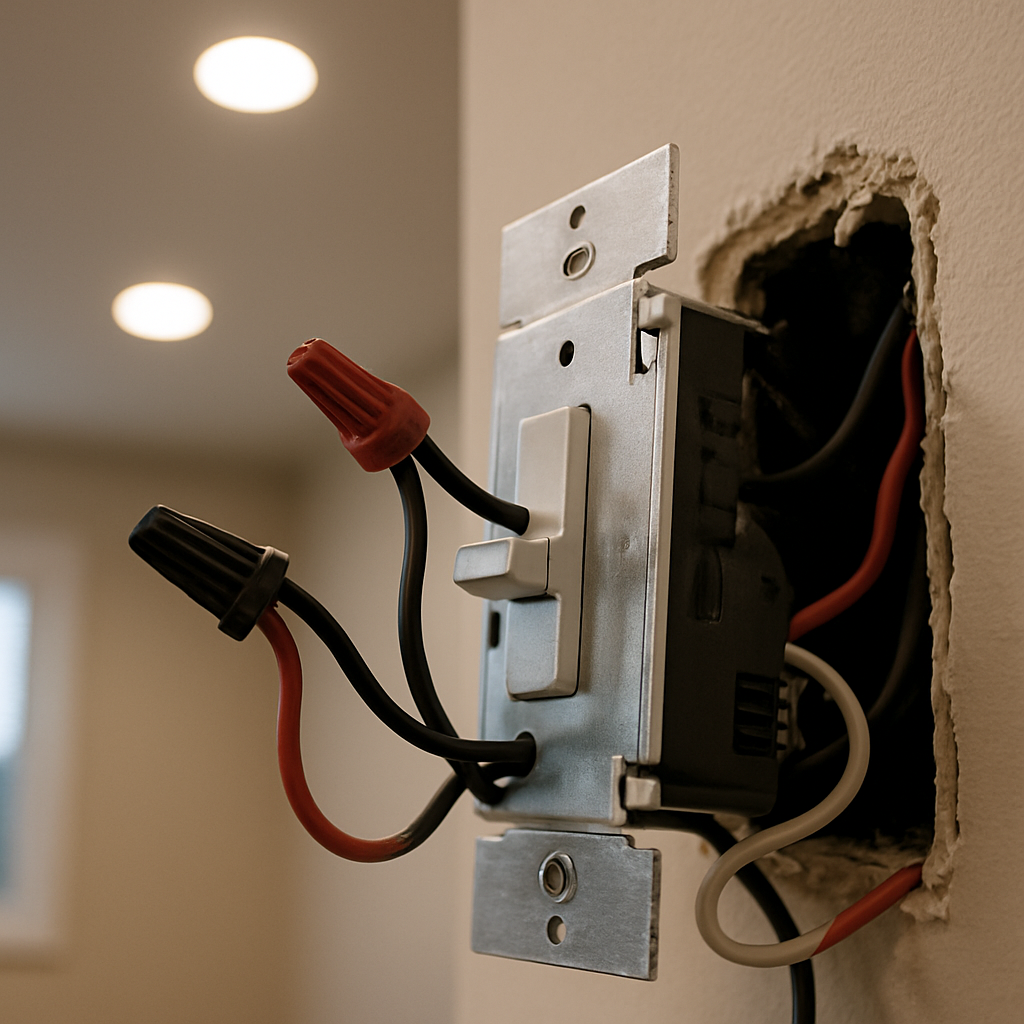
Retrofit LED Recessed Can Lights on Existing (Non-LED-Rated) Dimmers
This scenario shows up constantly in my inspections: a home with six or eight recessed incandescent can lights on a dimmer installed 20 years ago, now retrofitted with LED cans to save energy. The homeowner installs LED retrofit bulbs or LED-equipped recessed fixtures and suddenly everything flickers.
The old dimmer was sized and designed for the incandescent load — probably 50 to 75 watts per fixture, 300+ watts total. Now you’ve replaced those with LED retrofit cans drawing 8 to 12 watts each, for a total of maybe 50 watts on the circuit. You’ve dropped the load so far that the old dimmer can’t regulate. It was never designed for low-wattage LED loads, and the LED drivers in the retrofit cans can’t handle the leading-edge phase-cut signal the old dimmer sends.
The fix is to replace the dimmer with one rated for dimmable LEDs. Given that you’re already replacing fixtures or bulbs, spending another $30 to $50 on a proper LED-rated dimmer is the smart move. The Leviton SureSlide LED Advanced Dimmer handles up to 150 watts and works down to about 10 watts, so it’s ideal for retrofit can light circuits where the wattage has dropped.
Pro tip: if you’re buying LED retrofit cans like the Amico 4 Pack 5/6 inch 5CCT LED Recessed Lighting, check the spec sheet to confirm the driver is dimmable and what dimming method it uses. Not all retrofit cans are dimmable, and some are PWM-only (which won’t work on phase-cut dimmers no matter how new the can is). Verify before you install.
Running LED-Rated Dimmers With Incandescent Bulbs: The Reverse Question
I get asked this often: “If I buy an LED-rated dimmer, will it work with my old incandescent bulbs too?”
The short answer is yes, usually — but it’s not the same question as the reverse. An LED-rated dimmer (trailing-edge) will dim incandescent bulbs fine. Incandescent filaments don’t care whether the dimmer is leading-edge or trailing-edge; they just respond to reduced voltage. The filament doesn’t “know” the signal type.
However, some LED-rated dimmers have maximum wattage ratings that are lower than old leading-edge dimmers. If you have a lot of high-wattage incandescent bulbs on a single circuit, an LED-rated dimmer might be undersized. Check the spec sheet. Most quality LED dimmers handle 150 watts, which covers most residential incandescent loads just fine.
The upshot: buy an LED-rated dimmer and you’re covered for both LEDs and incandescent. You’re not betting your system on a one-way compatibility; you’re buying forward and backward compatibility for the price of a single, better dimmer.
A Note on Smart, WiFi-Connected Dimmers
Smart dimmers — the kind you control from your phone or voice assistant — have additional LED compatibility rules built into their firmware and app settings. Dimming curve, minimum brightness floor, and protocol compatibility all come into play. If you’re considering a WiFi or Zigbee dimmer, that’s a separate, deeper topic with its own compatibility matrix. For now, just know: if you’re using a smart dimmer and getting flicker, it might be a firmware update, an app setting, or a driver incompatibility that a basic manual dimmer wouldn’t have. Check with the manufacturer’s support first.
When to Call a Licensed Electrician
I’m all for empowering homeowners to understand their electrical systems, but there are limits to DIY troubleshooting and replacement.
- Call a professional if you’re not comfortable turning off a breaker and testing a live circuit with a multimeter or non-contact voltage tester. Working on dimmer circuits means working in a live panel or live switchbox.
- Call a professional if you have a 3-way or 4-way dimmer circuit and you’re not sure which wire is which. Miswiring a multi-location circuit can create safety hazards and definitely doesn’t fix the flicker.
- Call a professional if your dimmer is in a wet location (bathroom, kitchen, exterior). You need a licensed electrician to verify GFCI protection and proper installation.
- Call a professional if the flicker persists after you’ve replaced the dimmer with a known-good LED-rated unit. At that point, the problem might be in the circuit wiring, a loose connection, or a driver issue in the LED bulbs themselves — diagnosis requires tools and experience.
Swapping out a single-pole dimmer switch in a dry location? That’s reasonable DIY work if you’re comfortable with a screwdriver, a non-contact voltage tester, and turning off the breaker. Everything else — verify with a licensed electrician.
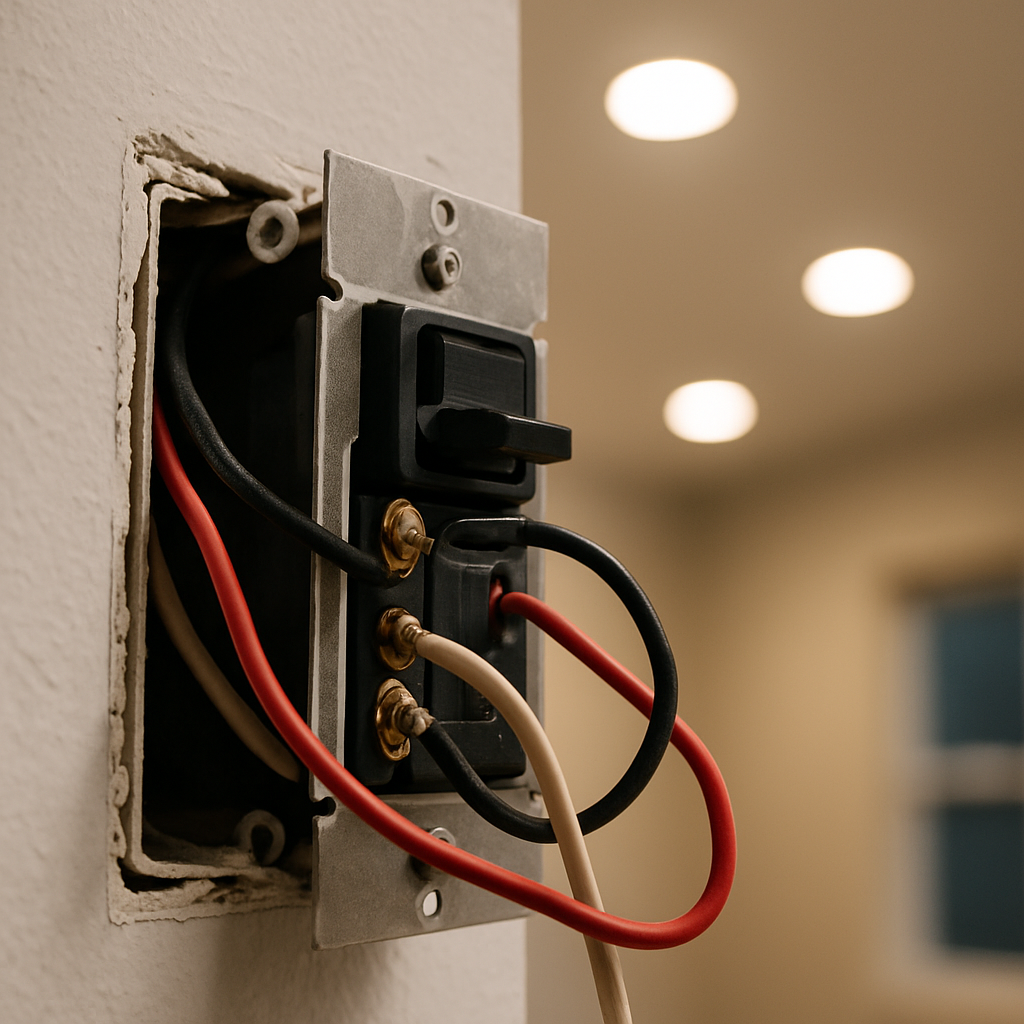
The Bottom Line on LED Dimmer Compatibility
After 12 years in this trade, I can tell you that LED dimmer compatibility isn’t mysterious — it’s a matter of matching three things: the dimmer’s signaling technology (trailing-edge is better than leading-edge for LEDs), the minimum load the dimmer can handle (must be lower than your total LED wattage), and the LED driver’s ability to accept that signal (rated as “dimmable” and ideally “LED-rated dimmer compatible”). Get all three right, and flicker vanishes.
If you’re replacing a dimmer or installing LEDs on an existing dimmer, buy trailing-edge. The Lutron Diva LED+ and Leviton SureSlide LED Advanced Dimmer are field-proven, work with a wide range of LED drivers, and handle low-wattage loads without fussing. Check the dimmer’s minimum load spec. If you have fewer than 20 or 30 watts of LED load, choose a dimmer rated down to 10 watts. And if you’re retrofitting recessed cans or converting a whole room from incandescent to LED, replace the dimmer at the same time — it’s not optional, it’s the foundation of working LED dimmer compatibility.
The callbacks stop when you stop guessing and start matching equipment to the actual requirements of the circuit.
This post is for informational and educational purposes only and is not a substitute for a licensed electrician. Never work on live circuits, and always pull a permit and have work inspected where required. If you are unsure about any step, stop and call a licensed electrician.Frequently Asked Questions
Why do my LED bulbs flicker on my dimmer switch?
LED bulbs flicker on dimmers when three things misalign: the dimmer’s signaling technology doesn’t match the LED driver inside the bulb, the circuit load is too low for the dimmer to regulate, or the dimmer was never rated for LEDs. Most standard (cheap) dimmers use leading-edge phase-cut technology designed for incandescent bulbs, but many LED drivers expect PWM signaling—they can’t interpret the signal and oscillate, causing flicker.
What’s the difference between leading-edge and trailing-edge dimmers?
Leading-edge dimmers chop the AC waveform to reduce voltage; they were designed for incandescent and halogen loads. Trailing-edge dimmers reduce voltage more elegantly and work far better with modern LED drivers. After 12 years troubleshooting this, I almost always recommend trailing-edge dimmers for LED retrofits because they handle constant-current drivers and have excellent real-world compatibility across a wide range of LED bulbs.
Can a single LED bulb break a dimmer?
Yes. Most dimmers have a minimum load requirement—typically 40 to 60 watts for older models. A single 8-watt LED bulb falls below that threshold, so the dimmer doesn’t get enough current to regulate properly and flickers or cuts out. Buy a dimmer explicitly rated for low-wattage LED loads, such as one that handles down to about 10 watts, or you’ll hit the minimum-load wall.
Will an LED-rated dimmer work with my old incandescent bulbs?
Yes, usually. An LED-rated (trailing-edge) dimmer will dim incandescent bulbs fine because the filament just responds to reduced voltage regardless of signal type. However, check the spec sheet—some LED-rated dimmers have lower maximum wattage ratings than old leading-edge dimmers. Most quality LED dimmers handle 150 watts, which covers most residential incandescent loads.
About This Article

Written by Marc Reeves. Marc Reeves is an electrician with 12 years of hands-on residential and light commercial experience. He started Panels & Plugs to help homeowners make smarter decisions about their electrical systems and renewable energy upgrades, including knowing exactly when a job needs a permit and a licensed pro. More about this site.
Scope and limits. Marc is a homeowner who studies residential electrical systems, not an electrician. Anything behind the panel, on a hardwired circuit, or subject to permit and inspection belongs with a licensed electrician.
Verify this against a primary source
Specifics change, and your situation may differ from the one described here. These are the authorities worth checking directly:
- NFPA — the National Electrical Code (NFPA 70)
- Electrical Safety Foundation — residential electrical safety guidance
- CPSC — product recalls and electrical hazard notices