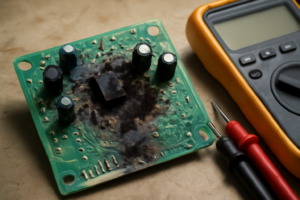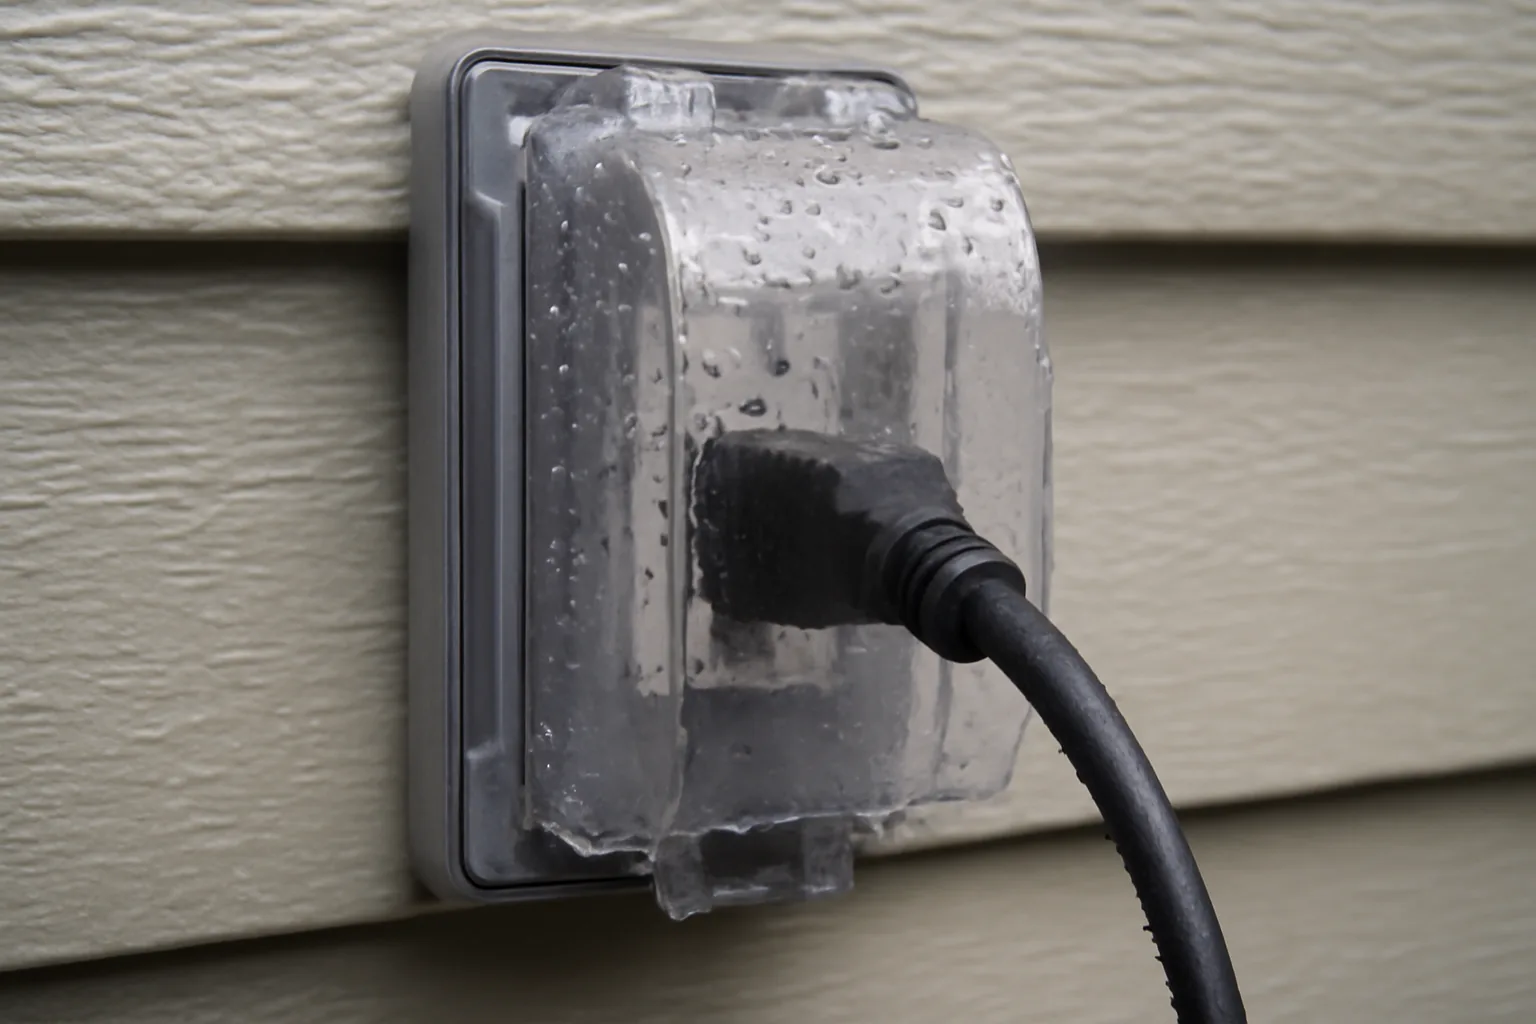
A few years back, I got a call from a homeowner in a panic. His outdoor GFCI outlet had tripped and wouldn’t reset. When I showed up, I found a standard flip-lid cover — the kind that only protects an empty outlet — with a phone charger cord snaking out from underneath it. Water had pooled inside the box overnight during a rainstorm. The outlet was fried, and he was lucky the GFCI had done its job. That’s exactly the situation a proper weatherproof outdoor outlet in use cover is designed to prevent. Yet I still see the wrong covers installed on homes every single week.
Here’s the hard truth: most people — and even some contractors — confuse “weatherproof” with “in-use.” They’re not the same thing. A standard weatherproof cover protects an empty outlet. The moment you plug something in and leave it, that cover is propped open. Rain, humidity, and condensation have a direct path to your outlet. That’s a code violation and a genuine safety hazard.
In this post, I’m going to walk you through everything I’ve learned over 12 years of installing outdoor electrical systems — from the NEC code requirements to the exact products I trust on job sites. By the end, you’ll know exactly what to buy, how to install it, and when to call someone like me.
What Makes a Cover “In-Use” — And Why It Matters for Code Compliance
The National Electrical Code (NEC) Section 406.9(B)(1) specifically requires “extra-duty” in-use covers for 15A and 20A receptacles installed in wet locations. This requirement has been in place since the 2008 NEC cycle. If your outdoor outlet is exposed to rain — even indirect rain — it qualifies as a wet location. That means a standard flip-lid cover won’t meet code, period.
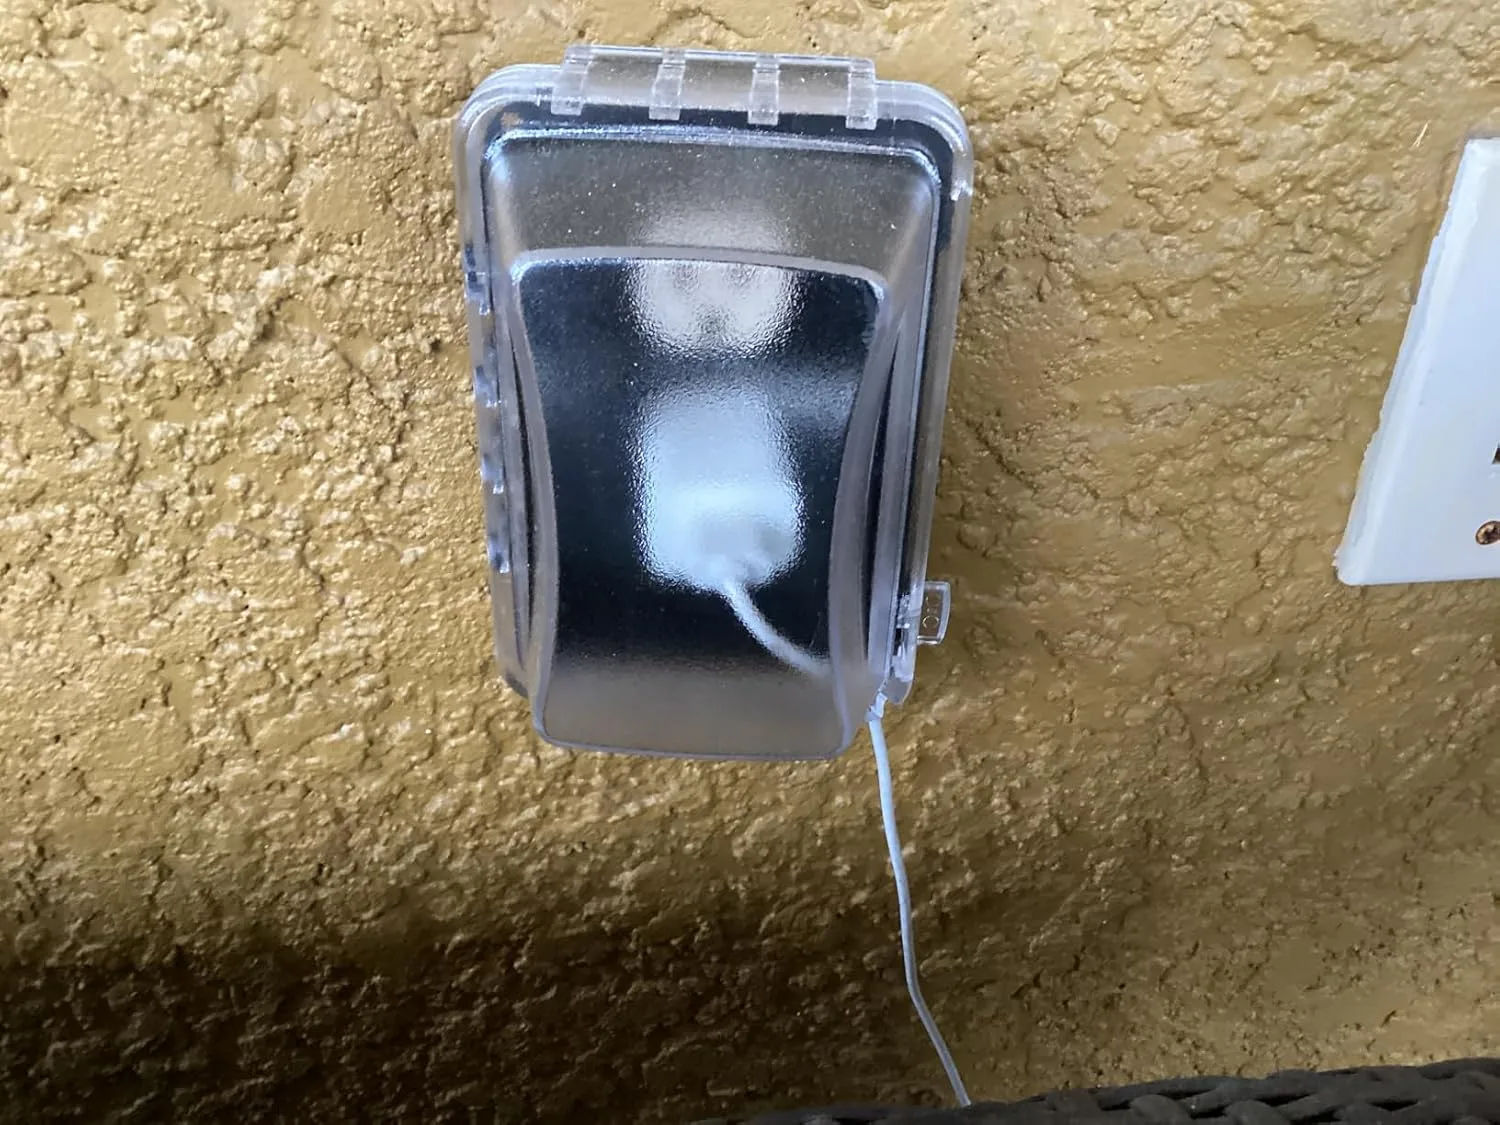
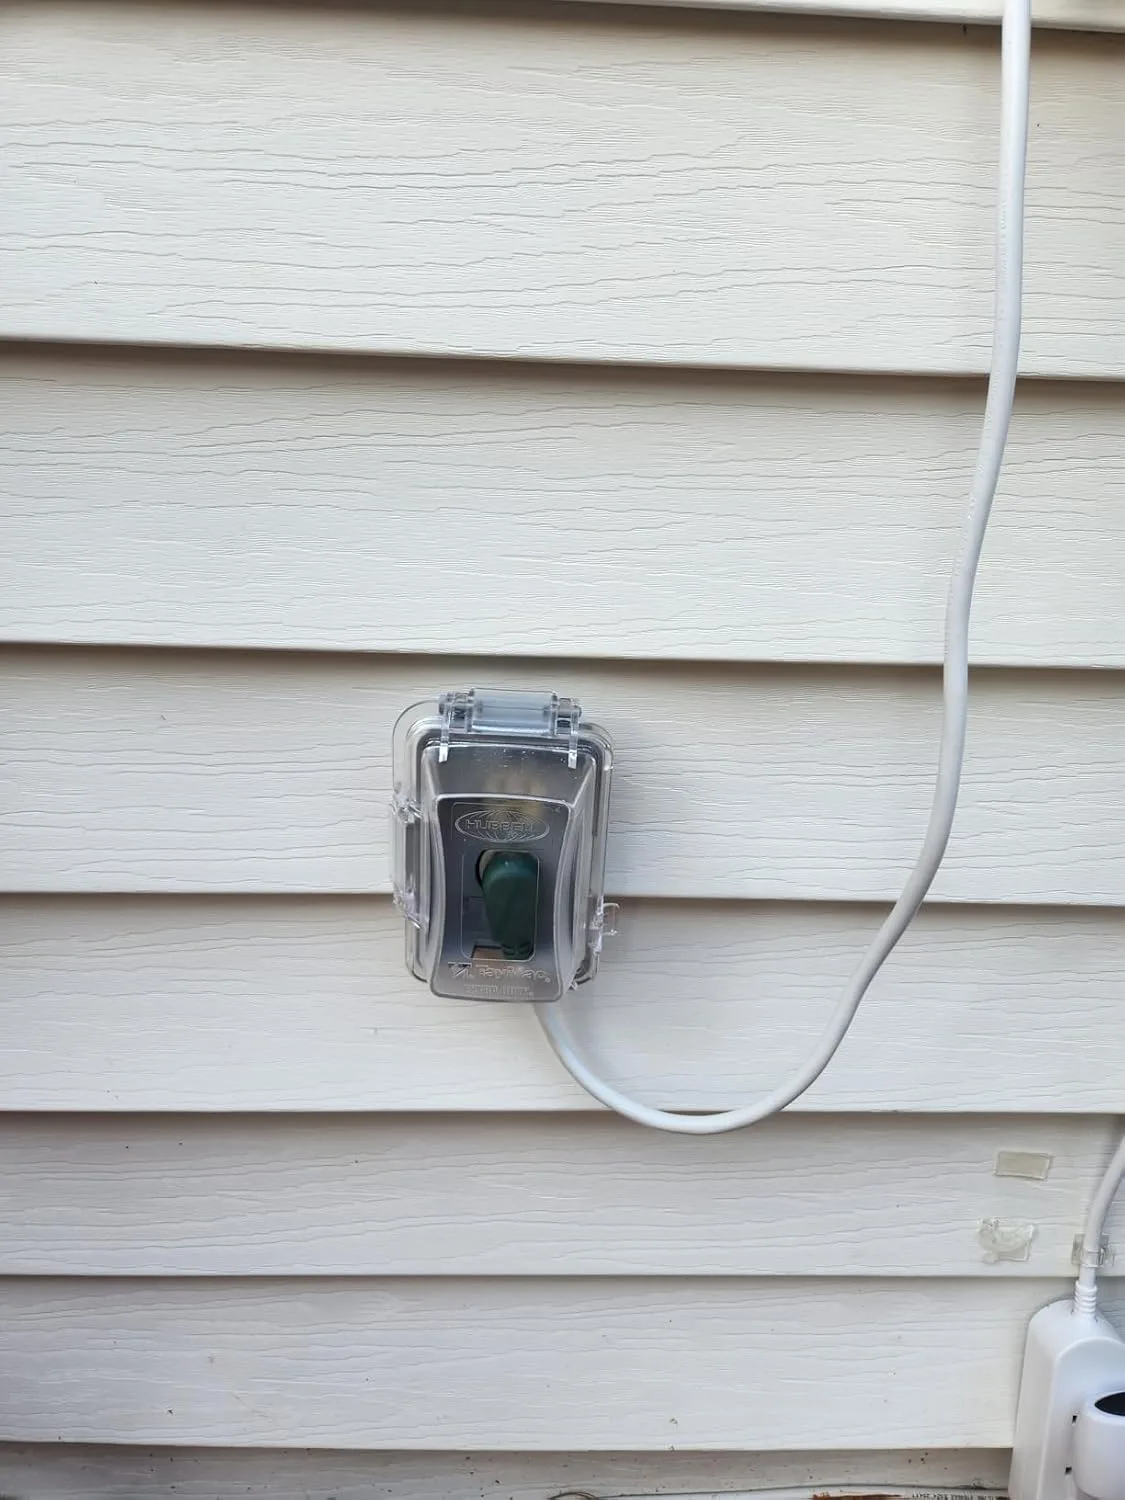
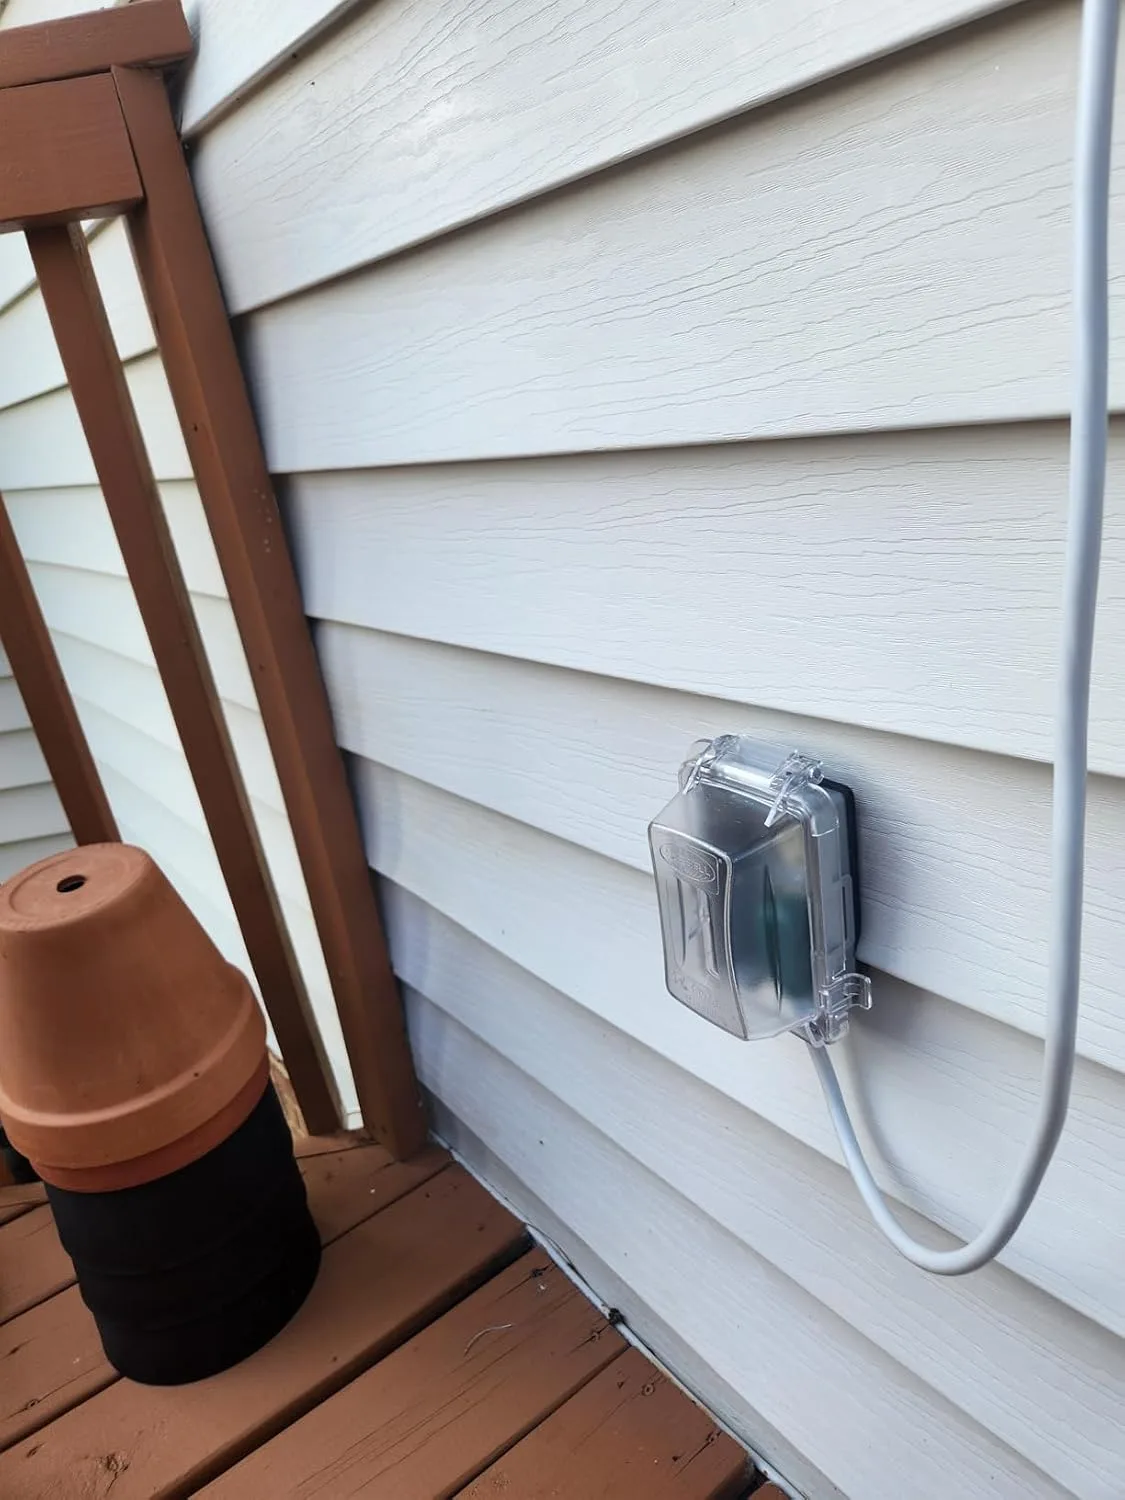
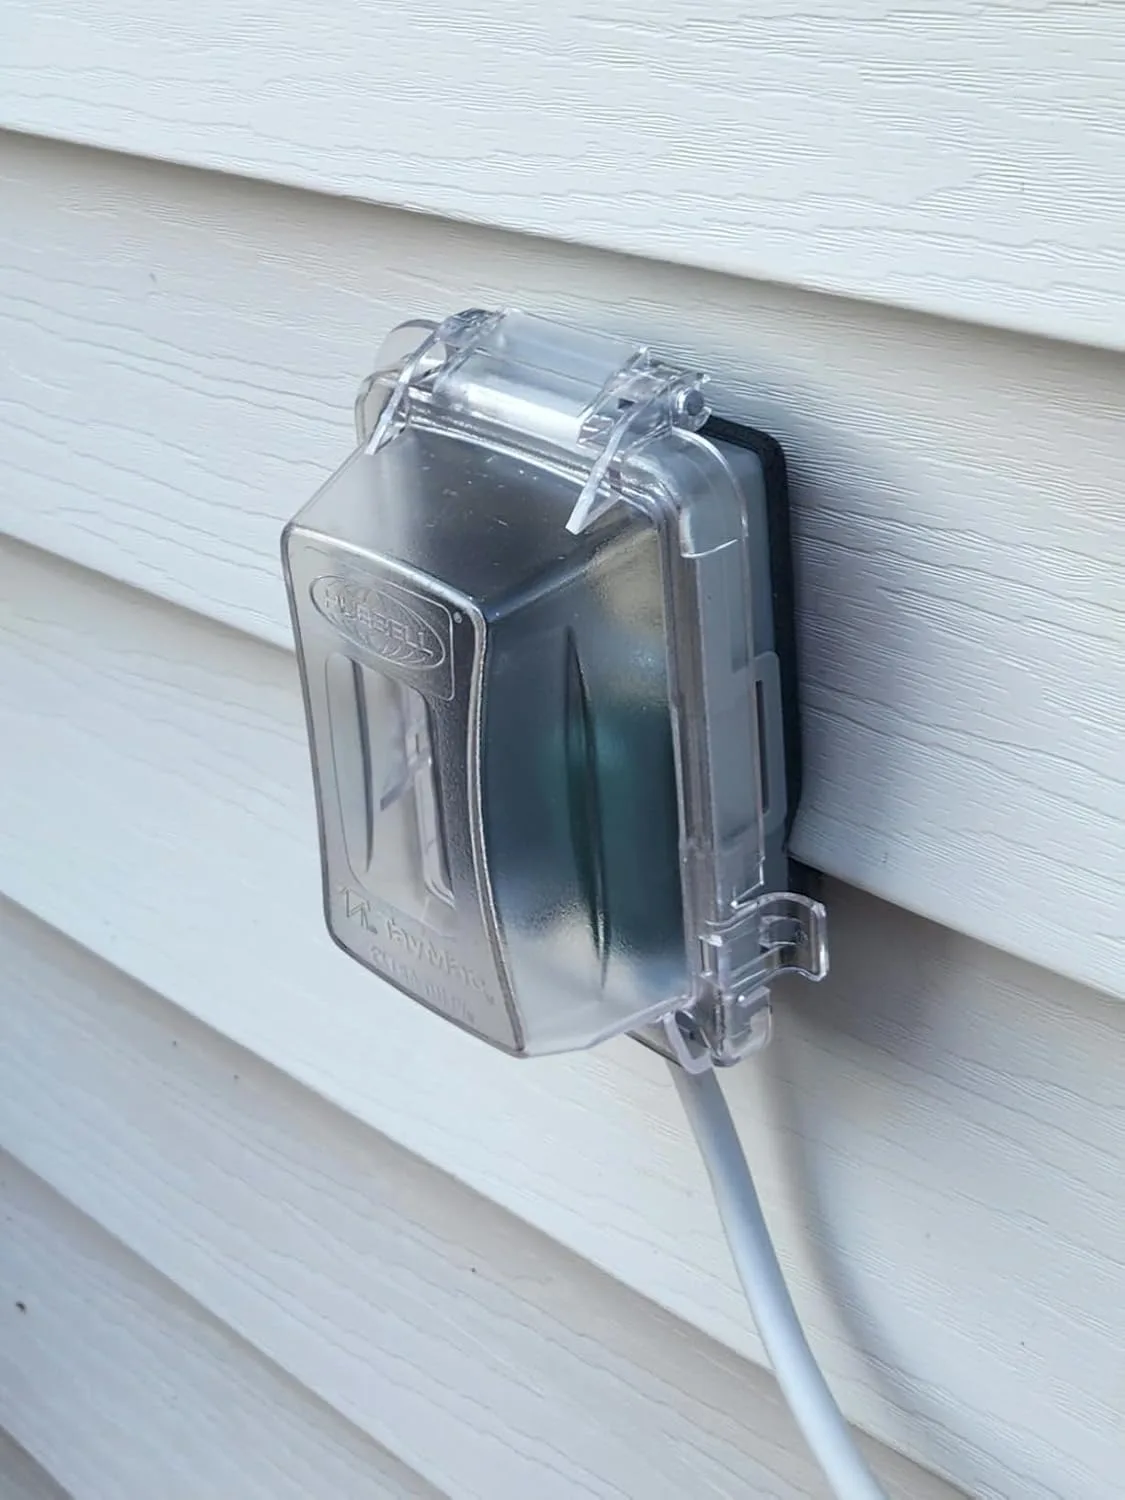
An in-use cover — sometimes called a “bubble cover” or “while-in-use cover” — works differently. It has a hinged, dome-shaped hood that extends outward. That dome stays closed around the cord even while your device is plugged in. Water runs off the outside instead of dripping into the receptacle. The cover maintains protection whether the outlet is in use or not.
In my experience, inspectors in most jurisdictions will flag non-in-use covers on exterior outlets immediately. Failing that inspection costs homeowners time and money — typically $75 to $150 for a re-inspection fee, plus the cost of the correct cover. Buying right the first time is always the cheaper call.
The Difference Between Standard Duty and Extra Duty Covers
This distinction trips up a lot of DIYers. There are two ratings for in-use covers: standard duty and extra duty. Standard duty covers are acceptable for damp locations — think a covered porch where rain doesn’t hit directly. Extra duty covers are required for wet locations — any fully exposed outdoor outlet.
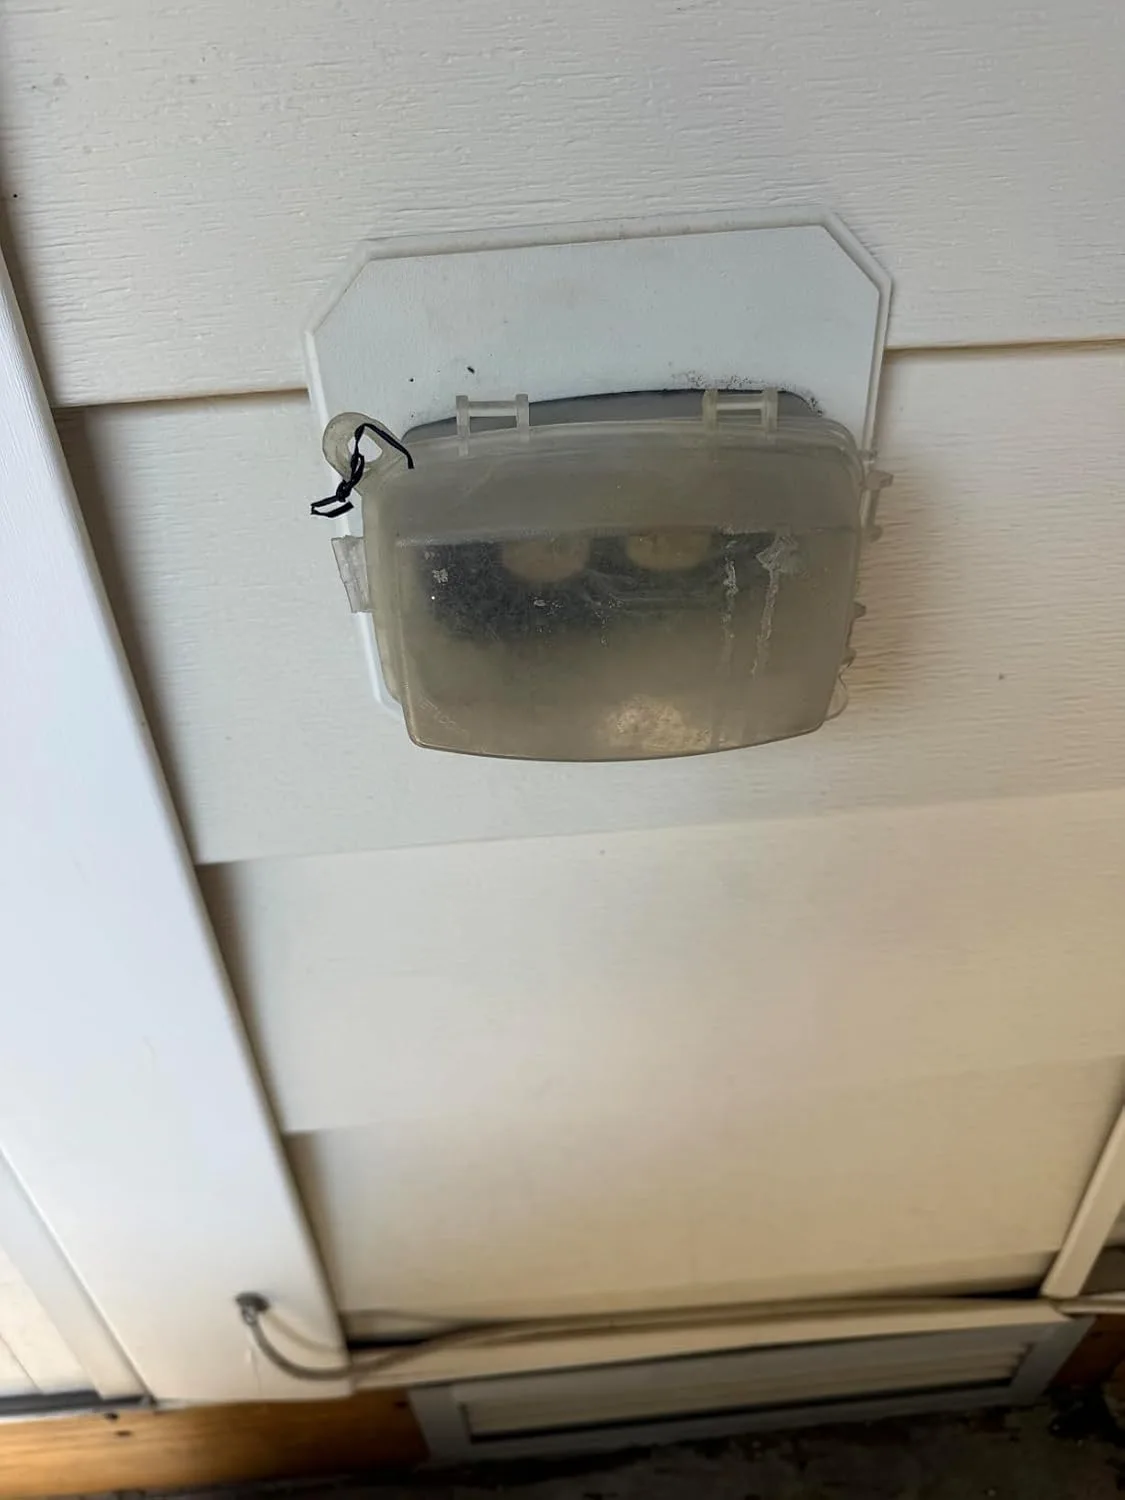
Extra duty covers are constructed with thicker, more impact-resistant materials. They have deeper hoods and tighter gasket seals. The NEC has required extra duty specifically since the 2008 code update, but I still pull off old standard-duty covers on homes all the time. Homeowners often don’t realize their existing cover no longer meets current standards.
I learned this the hard way early in my career. I installed a standard-duty in-use cover on an exterior outlet near a pool equipment area. The inspector passed it — this was back in 2013. Two years later, during a service call, I found the gasket had deteriorated badly. The cover material itself had become brittle from UV exposure. Since then, I never install anything less than extra duty on any outdoor outlet, covered or not. The peace of mind is worth the extra $3 to $5.
How to Choose the Right Weatherproof Outdoor Outlet In-Use Cover
Not all in-use covers fit every situation. Before you buy, there are four things you need to confirm at your outlet location.
1. Box Configuration: Horizontal vs. Vertical Mounting
Outlets can be mounted with the plug slots oriented vertically (standard) or horizontally (some outdoor boxes are installed this way). Many covers are designed for one orientation only. If you get the wrong one, the cord exits at an awkward angle and the cover won’t seal properly. Always check before ordering.
2. Gang Count
Most residential outdoor outlets are single-gang — one outlet, one cover. Commercial or larger installations may use two-gang boxes. Confirm your gang count before purchasing. A 1-gang cover on a 2-gang box leaves gaps, which defeats the entire purpose of weatherproofing.
3. Cord Direction Clearance
Some covers have a fixed cord exit at the bottom of the hood. Others offer multiple exit positions. If your outlet is installed near a wall corner or tight to a surface, cord exit direction matters a lot. A cover with limited clearance options will force your cord to bend sharply, which damages the cord over time and can create a tripping hazard.
4. Box Depth and Setback
Older homes sometimes have shallow outdoor boxes or boxes set back into brick or stone. Standard covers assume the box face is flush with the wall surface. If your box sits deeper, you may need a spacer or an extension ring. Measure the setback before ordering anything. I’ve had to return covers on job sites more than once because of this.
The Cover That Finally Stopped Water From Pooling Inside My Outlet Box
Standard flip-lid covers are almost useless when you’ve got a cord actually plugged in—water pools underneath, and you’re one rainstorm away from a tripped GFCI or worse. The in-use cover is purpose-built to keep moisture out while your devices are actively charging or running.
What works
- The hinged design seals tight around the cord while still allowing it to exit, so water can’t pool underneath like it does with flip-lids.
- Built from nonmetallic material, so it won’t corrode or conduct electricity if it ever gets compromised—one less thing to worry about in damp conditions.
- Heavy-duty construction actually feels substantial in your hand; this isn’t a flimsy piece of plastic that’ll crack after one season of sun and cold.
What doesn’t
- The price is noticeably higher than a basic flip cover—you’re paying for the engineering and materials, but it stings at first.
- Installation requires you to actually read the directions; getting the cord positioned for the seal to work correctly takes a minute or two of fussing.
I’ll be honest—when I first ordered one, I wondered if I was overthinking a simple problem. But after seeing that homeowner’s fried outlet, I realized the $20 difference between a junk cover and a real one is the cheapest insurance you can buy. Grab the TayMac MM420C 1-Gang Nonmetallic Extra Duty Weatherproof In-Use Cover and stop gambling with outdoor outlets.
This post contains affiliate links. As an Amazon Associate, I earn from qualifying purchases at no extra cost to you.