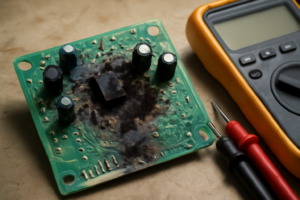
Last spring I walked through a house where a single lightning strike had taken out the refrigerator, both garage door openers, the smart thermostat, and a brand-new 65-inch TV — all in one shot. The homeowner had point-of-use surge strips on the TV and the computer. None of it mattered. That’s the reality of transient voltage events, and it’s exactly why I tell every single one of my clients to install a whole-home surge protector before they spend another dollar on smart appliances or home automation gear.
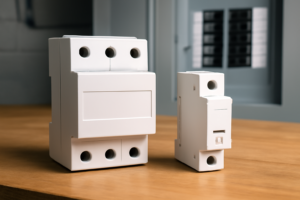
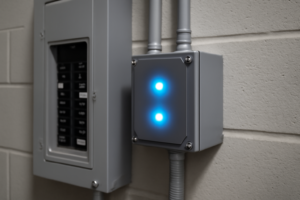
A whole-home surge protector — also called a Type 1 or Type 2 SPD (Surge Protective Device) — mounts directly at your main panel and catches voltage spikes before they travel downstream into your circuits. Point-of-use strips are a second layer of defense. They are not a first layer. That distinction matters more than most homeowners realize, and in 16 years of residential electrical work, I’ve seen the damage that happens when people get that order wrong.
In this post I’m going to walk you through exactly what it looks like to install a whole-home surge protector — the prep work, the panel access, the wiring, and the code requirements. I’ll also tell you where the job gets tricky, what it costs, and which device I personally use and recommend.
What a Whole-Home Surge Protector Actually Does
Before touching any tools, it helps to understand the mechanism. Surge protectors work by clamping voltage — when a spike hits above the device’s rated threshold, the SPD diverts that excess energy to ground. The key spec to look for is the clamping voltage and the surge current rating, measured in kiloamperes (kA). A quality whole-home unit is rated at 40kA or higher per phase.
The NEC addresses SPDs under Article 285 (for systems 1 kV or less). Since the 2020 NEC cycle, Section 230.67 actually requires surge protection on new dwelling unit services — meaning new construction must have one installed at the service entrance. That’s a code change that was a long time coming. I’ve been recommending these devices since well before they were required.
In my experience, most residential surges don’t come from lightning. They come from inside the house — HVAC compressors cycling on and off, refrigerator motors, even LED dimmers creating small repetitive spikes. These “internal” transients are lower in magnitude but relentless. Over months and years, they degrade sensitive electronics. A whole-home SPD catches all of it at the source.
Tools, Materials, and What the Job Costs
Let’s talk about what you’re actually buying and spending. The SPD device itself typically runs between $50 and $150 for a quality residential unit. Installation by a licensed electrician — which I always recommend unless you have real panel experience — usually adds $100 to $200 in labor. Total out-of-pocket for most homeowners lands between $150 and $350, depending on your region and panel accessibility.
Here’s the tool list I bring to this job every time:
- Flathead and Phillips screwdrivers (insulated handles)
- Non-contact voltage tester — non-negotiable
- Wire stripper rated for 10–14 AWG
- Needle-nose pliers
- Torque screwdriver or torque wrench with panel-appropriate settings
- Panel knockout punch or a drill with step bit
- Flashlight or headlamp
For materials beyond the SPD itself, you’ll need two slots in your breaker panel for the dedicated 2-pole breaker that most plug-in style units require. Some SPDs mount directly to the neutral/ground bar without needing a breaker — those are Type 1 units and require a different installation approach. Most homeowners are installing Type 2 devices, which is what I’m covering here.
How to Install a Whole-Home Surge Protector: The Step-by-Step Process
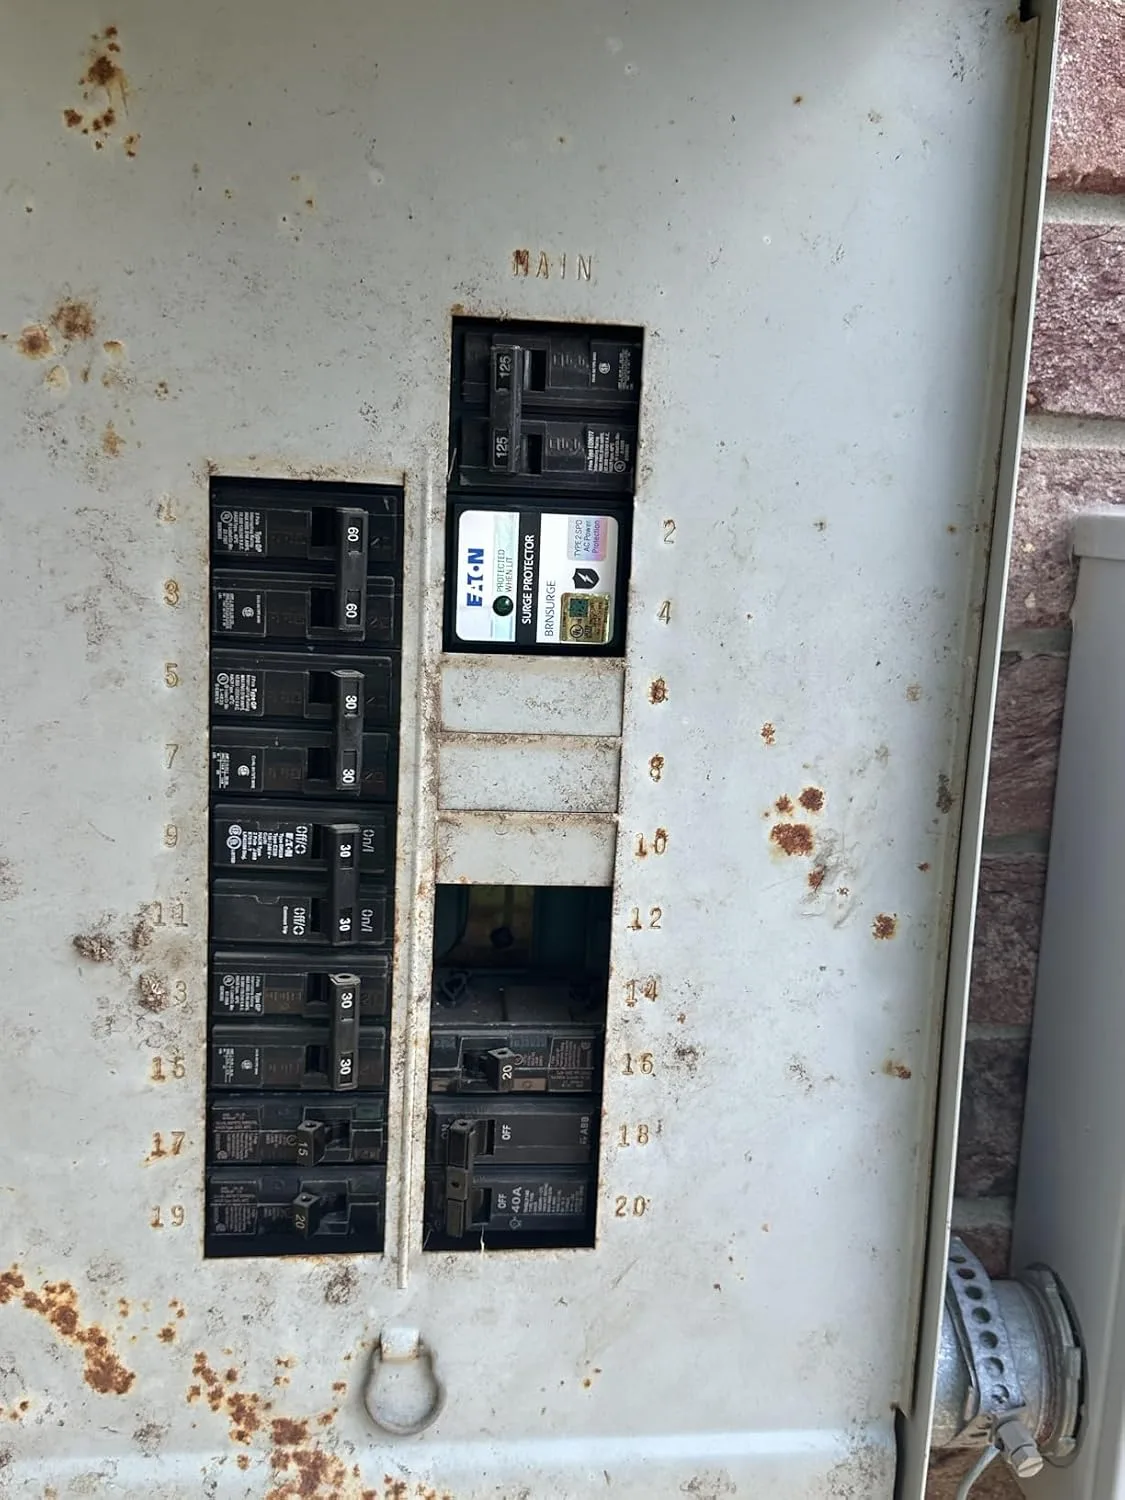
I want to be direct with you: working inside a main breaker panel means exposure to live conductors at the top of the panel ��� the service entrance wires — that remain energized even when the main breaker is off. That is a genuine hazard. However, for a load-side installation using a breaker-style SPD, you can do this work safely if you’re methodical, use insulated tools, and keep your hands away from the top lugs.
Step 1: Turn Off the Main Breaker and Remove the Panel Cover
Flip the main breaker to OFF. Remove the panel cover screws — typically four to six screws around the perimeter. Set the cover aside carefully. Use your non-contact voltage tester immediately to verify the branch circuit breakers are de-energized. Then test the service entrance lugs at the top. They will be live. Mark them mentally, keep your tools clear of that area, and do not touch them.
Step 2: Find Two Open Slots and Install the Breaker
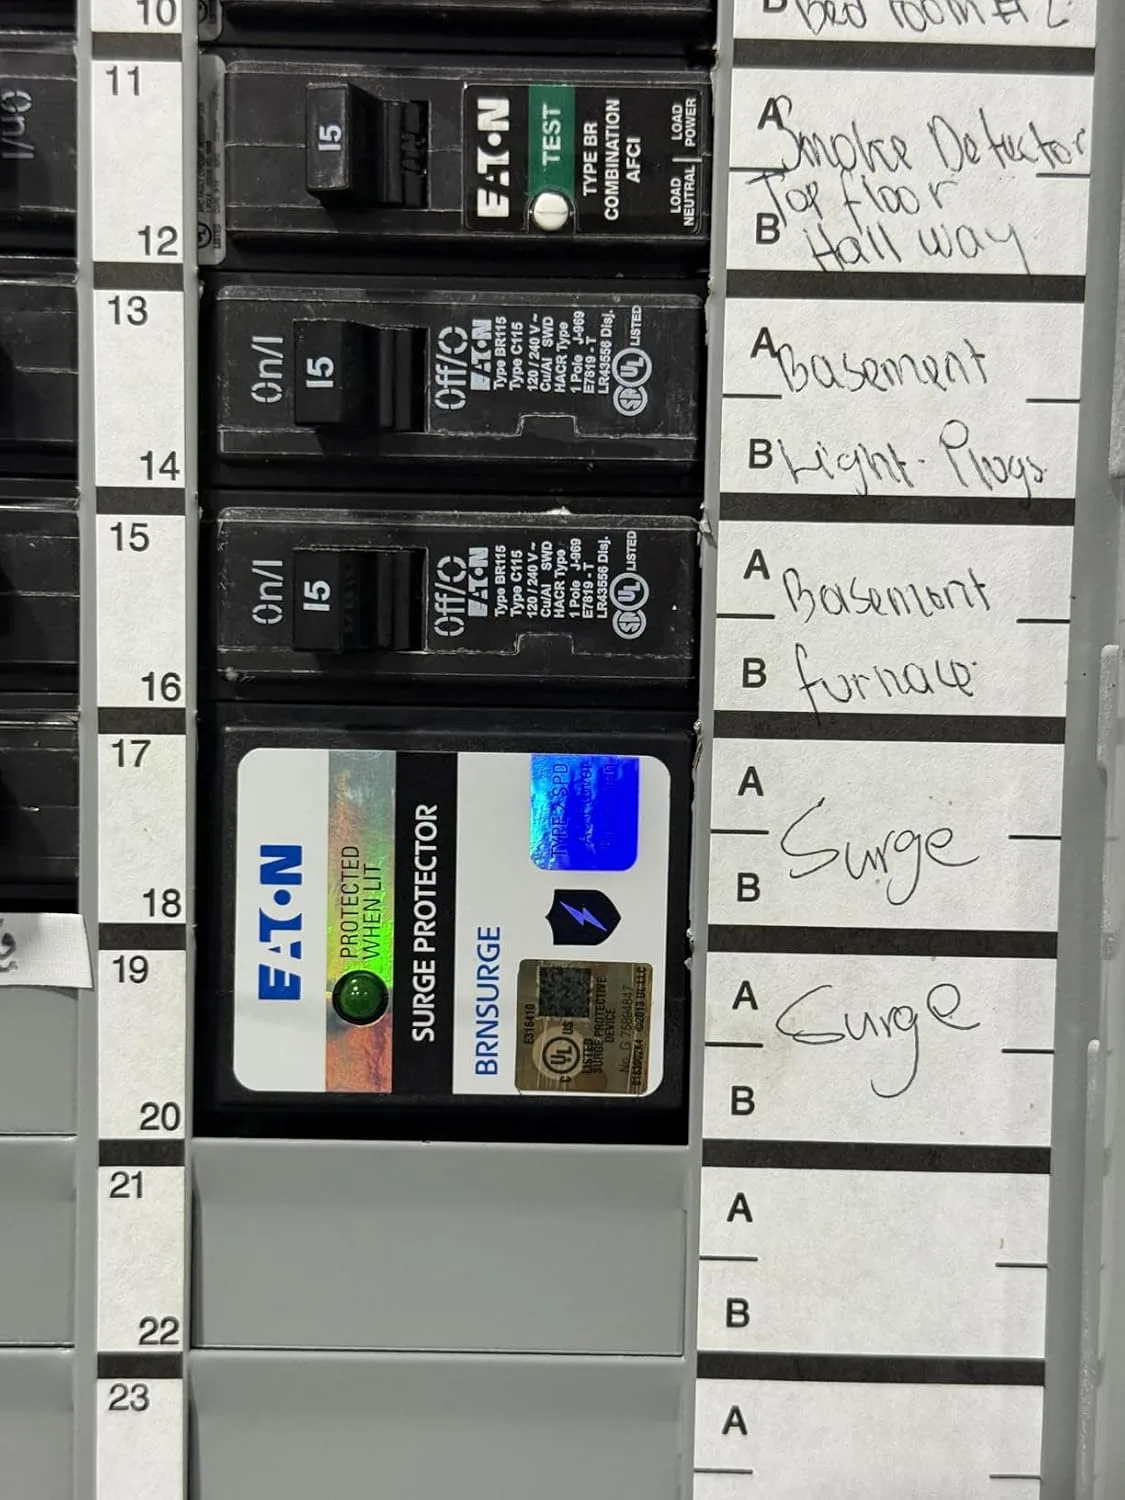
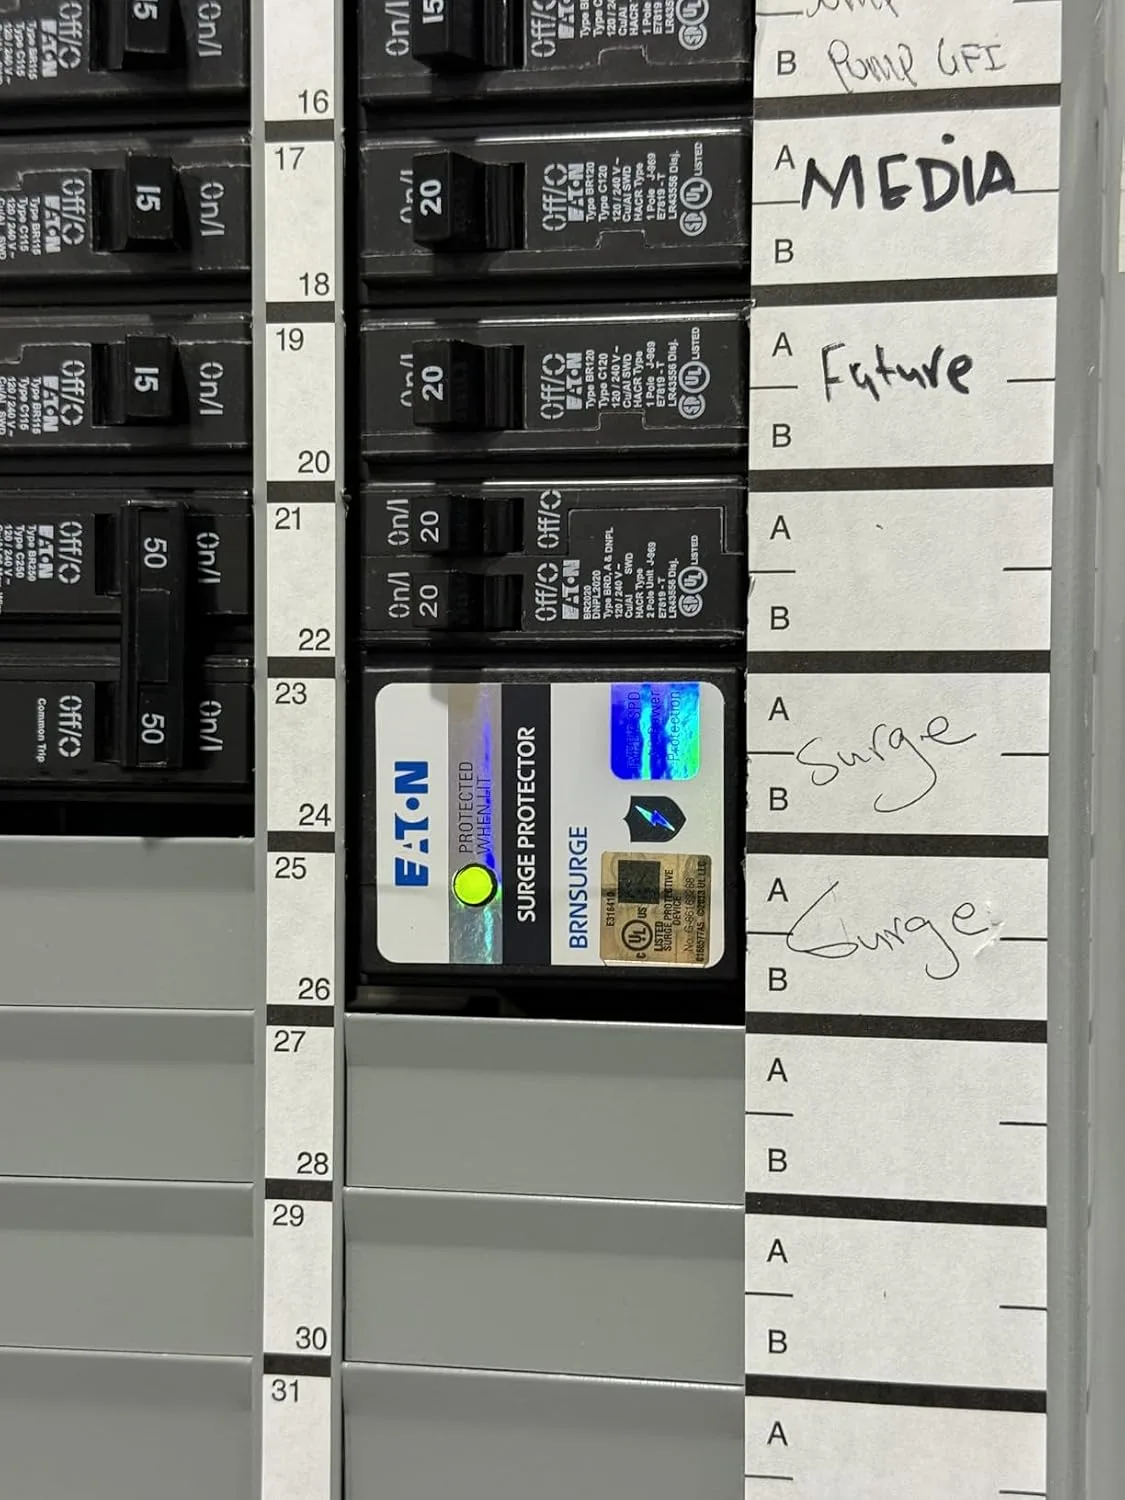
Most breaker-style SPDs snap into the panel exactly like a standard tandem or 2-pole breaker. Identify two adjacent open slots. If your panel is full, this is where the job gets complicated — you may need to consolidate circuits using tandem breakers first, which is a separate conversation. Assuming you have open slots, snap the SPD breaker firmly onto the hot bus bar. You should feel and hear it seat. Tug it gently to confirm it’s locked.
Step 3: Run and Connect the Lead Wires
Most whole-home SPDs come with factory-attached lead wires — typically 18 to 24 inches of 10 AWG wire in black, white, and green. The black wire connects to one terminal of the breaker, the white connects to the other terminal (in a 120/240V single-phase system, both breaker terminals are “hot” — the white wire is re-identified as a hot conductor here, per NEC 200.7). The green wire lands on the panel’s ground bus bar. Torque all connections to the manufacturer’s specification — typically 35 in-lbs for panel bus lugs. This is important. I learned this the hard way early in my career when a loose lug connection caused intermittent arcing that showed up months later as a discolored bus bar during a home inspection.
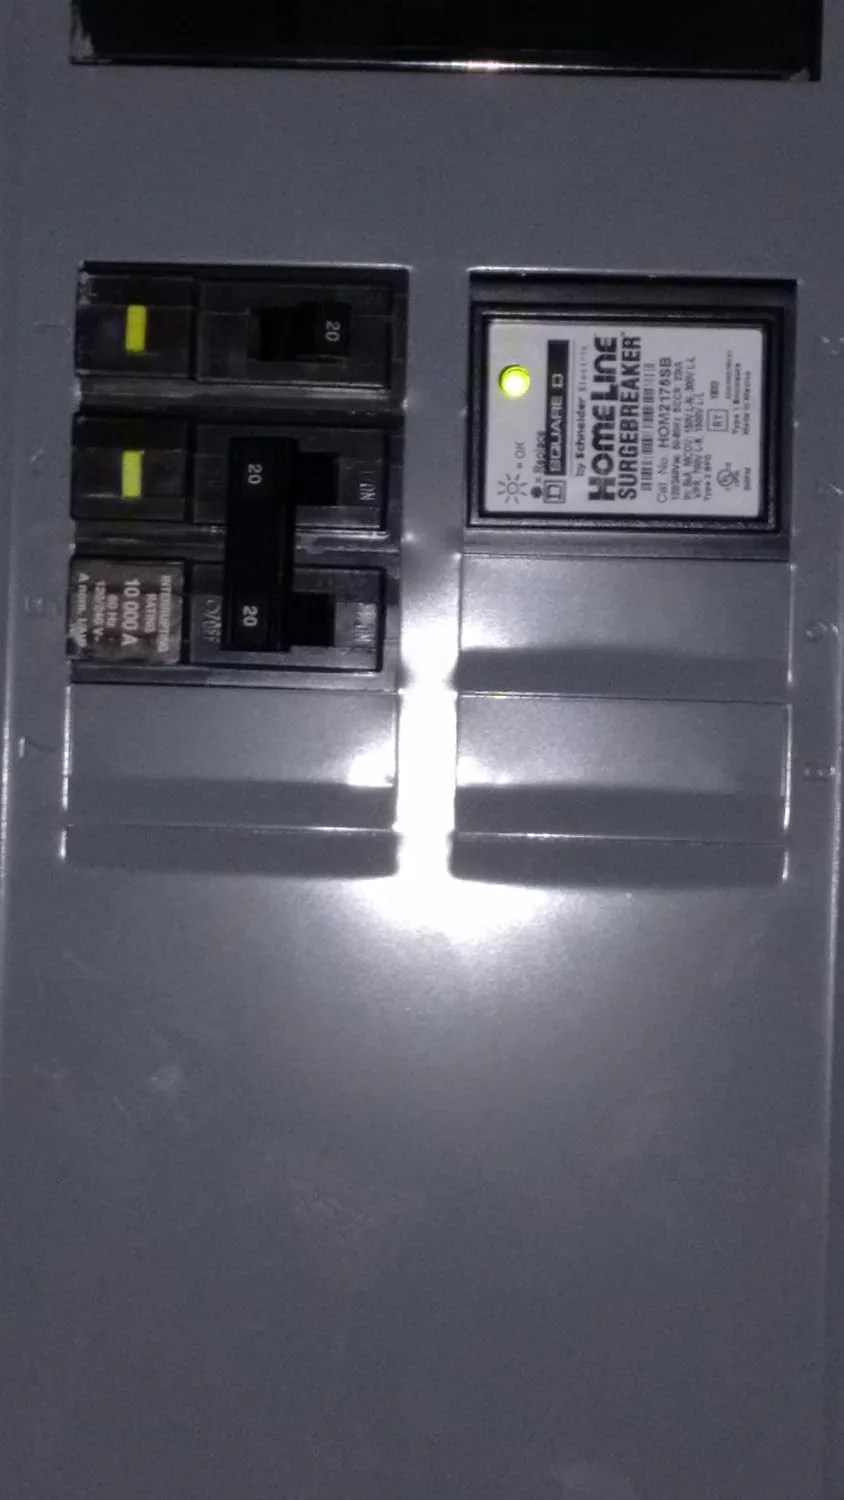
Step 4: Mount the Device Body and Restore Power
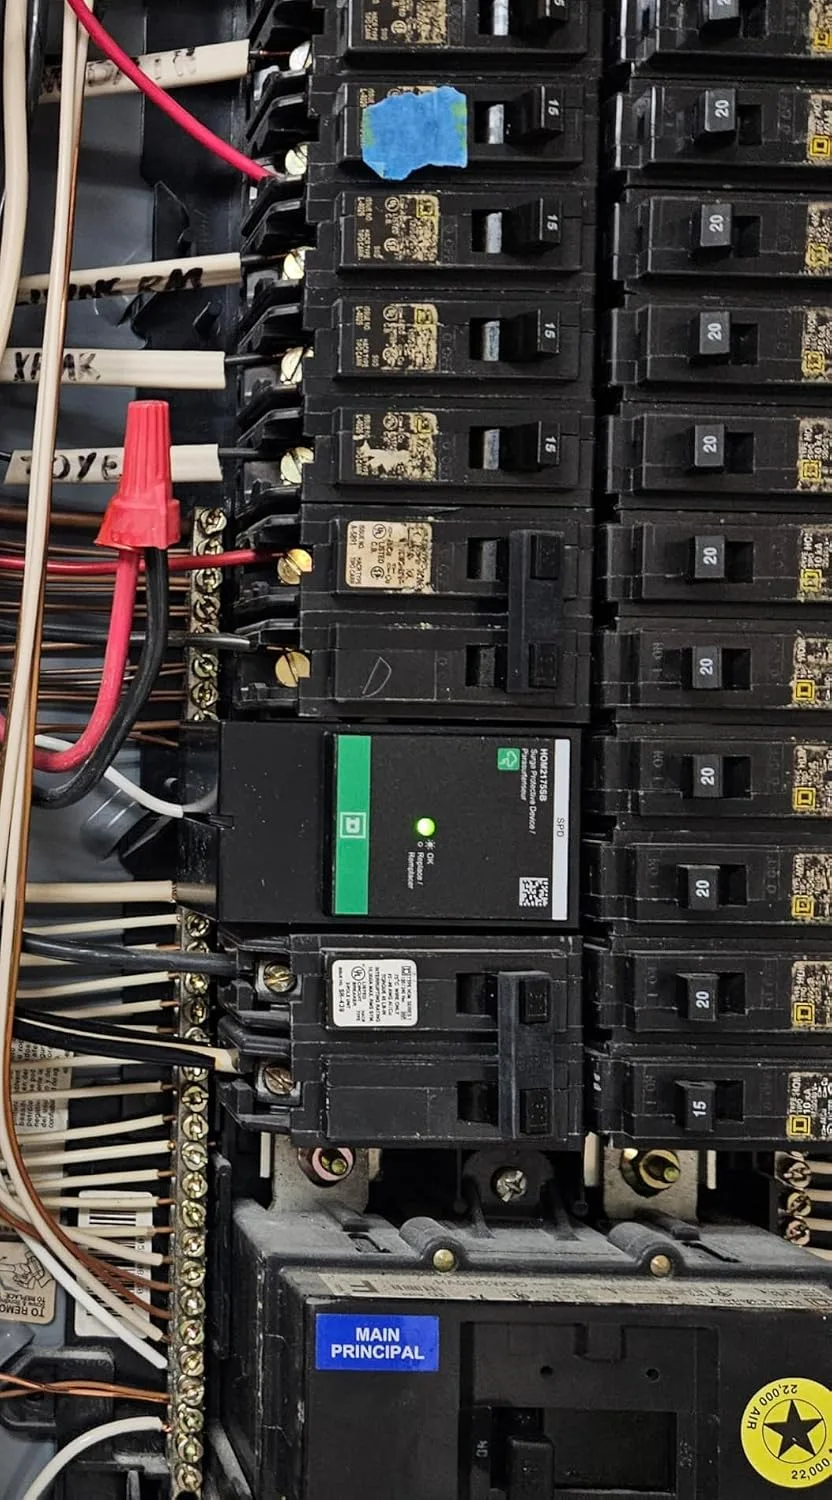
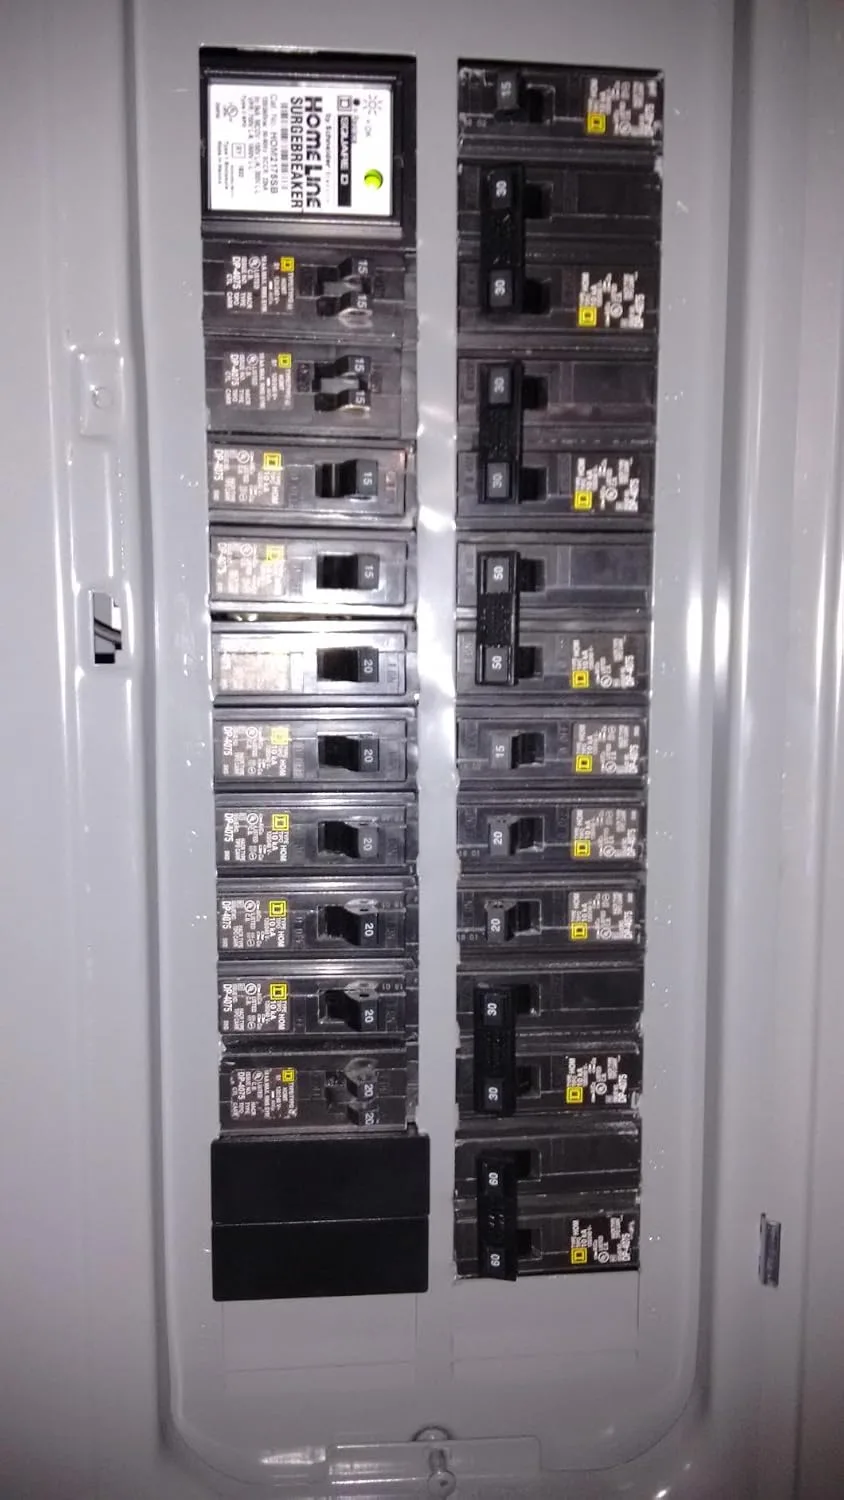
Some SPDs have a separate module that mounts to the side of the panel or to the panel door. Follow the manufacturer’s routing instructions for the lead wires — keep them away from energized bus bars and route them neatly along the panel’s interior margins. Once everything is landed and torqued, replace the panel cover. Restore the main breaker. Most quality SPDs have a status indicator light — verify it’s illuminated green before calling the job done.
The Breaker That Stopped Me From Installing Strip Protectors on Every Outlet
After that lightning strike story, I realized point-of-use surge strips are just theater—they can’t protect what’s already inside your panel. A whole-home surge protector installed right at the main breaker is the only defense that actually works against transient voltage events.
What works
- Clamps voltage spikes before they enter the home’s wiring—protects everything downstream, not just one outlet or appliance
- Fits directly into a standard breaker slot, so installation takes 10 minutes if you’re already working in the panel—no rewiring required
- Status indicator tells you at a glance if the surge protection module is still active or needs replacement after a hit
What doesn’t
- Won’t protect against direct lightning strikes—nothing will—but it catches the voltage spikes that travel through utility lines, which is the majority of surge damage
- Takes up a full 2-pole breaker space, so you’ll need a spare slot in your panel or accept losing one circuit breaker to make room
The first time I opened a panel to install one of these, I second-guessed whether homeowners would actually pay for it—until I remembered that refrigerator and TV, both gone in a fraction of a second. Grab a Square D by Schneider Electric HOM2175SB Homeline SurgeBreaker and stop gambling with your family’s electronics.
This post contains affiliate links. As an Amazon Associate, I earn from qualifying purchases at no extra cost to you.
This post contains affiliate links. As an Amazon Associate, I earn from qualifying purchases at no extra cost to you.