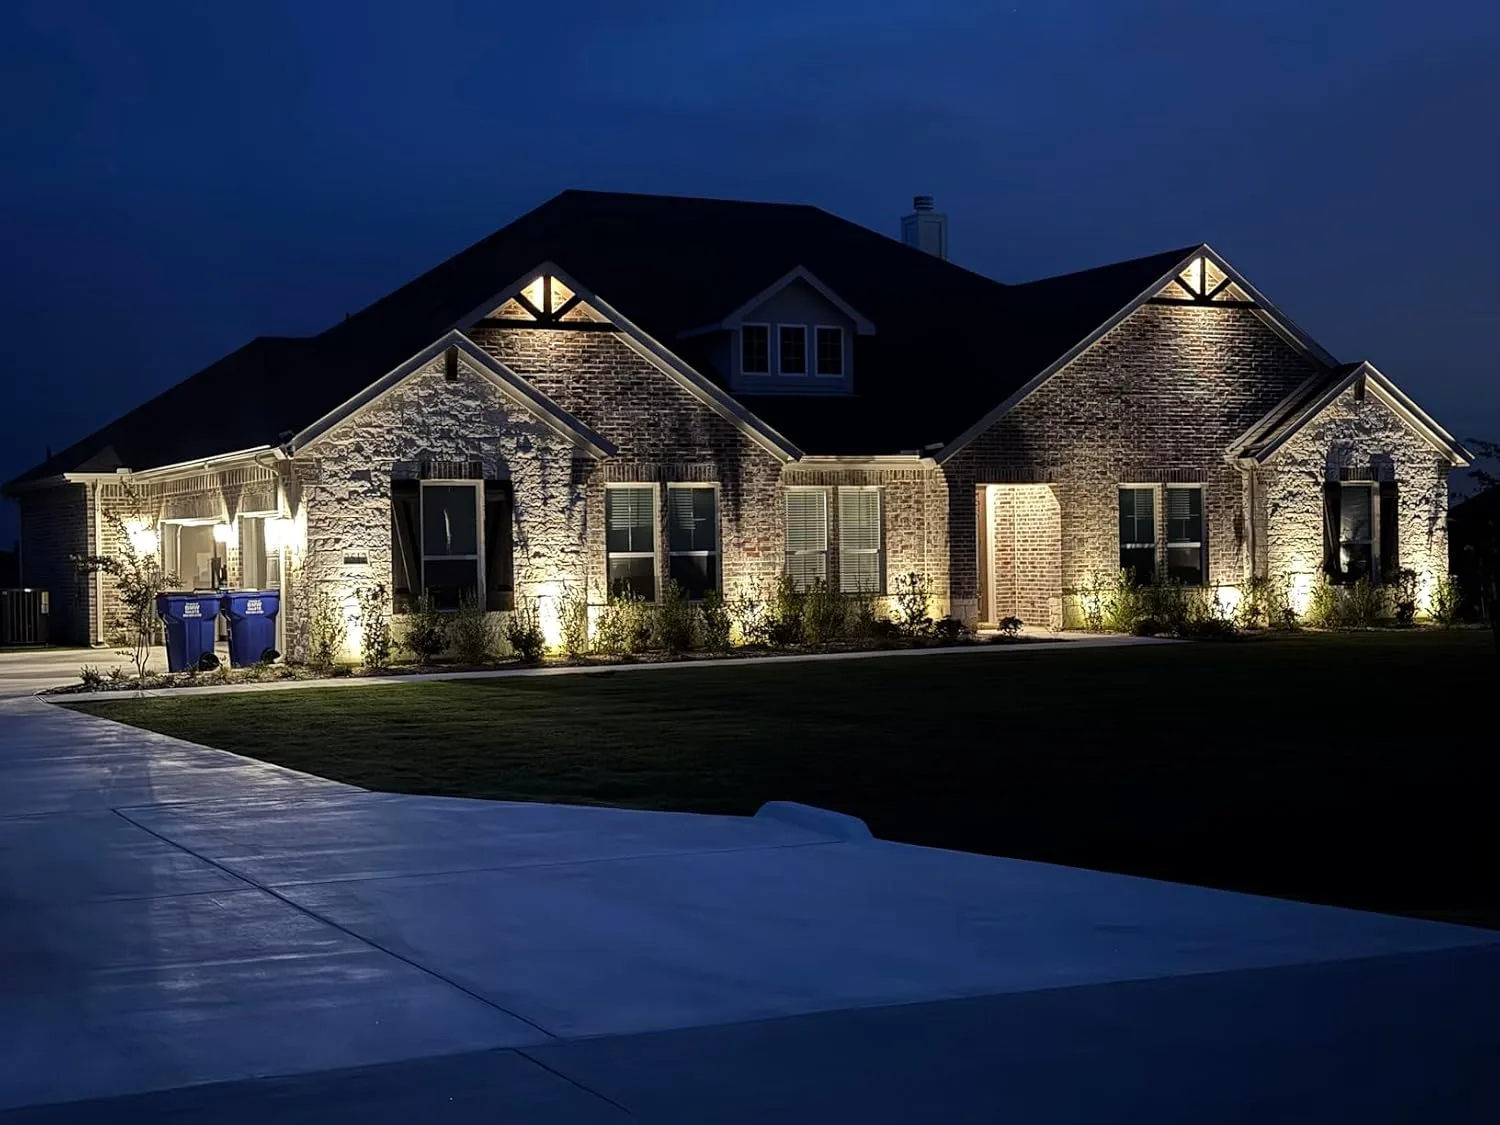
Every spring, I get at least a dozen calls from homeowners who’ve made the same mistake: they bought a bag of landscape lights, shoved the stakes into the ground, and ended up with half the lights flickering or completely dead by August. The problem is almost never the lights themselves. It’s the wiring. If you’re searching for a low voltage landscape lighting wiring guide, you’ve already done something smart — you’re planning before you dig. That alone puts you ahead of 80% of DIYers I’ve worked with over my 12 years as a licensed electrician.
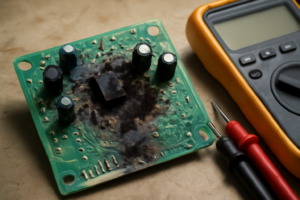
Low voltage landscape lighting runs on 12V AC power, stepping down from your standard 120V household current through a dedicated transformer. Because the voltage is so low, it falls outside the scope of NEC Article 230 service entrance rules. That said, NEC Article 411 still governs low voltage lighting systems. Most homeowners don’t know that. Ignoring it leads to overloaded runs, voltage drop, and fire hazards from undersized cable. I’ve pulled apart installs where someone used 18 AWG wire on a 150-watt load stretched 200 feet. That wire was warm to the touch. Not acceptable.
This walkthrough covers everything you need to wire a low voltage landscape lighting system correctly — from transformer placement to cable sizing to connector technique. I’ll also share the kit I personally recommend for beginners, and the one honest moment where I learned a costly lesson the hard way.
Understanding Your Transformer: The Foundation of Every Safe Install
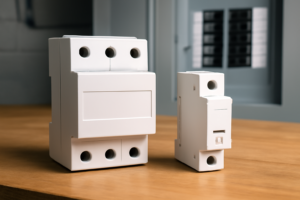
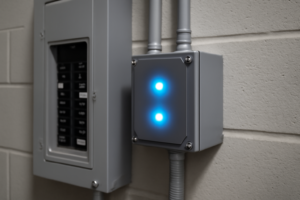
The transformer is the most important component in your system. It converts 120V AC from your outdoor outlet to 12V AC for the lights. Most residential kits top out at 150 watts. Higher-end units run 300 to 600 watts and support multiple zones. Before you buy anything, calculate your total wattage load. Add up the wattage of every fixture you plan to install, then multiply by 1.25 as a safety buffer. For example, twelve 3-watt LED fixtures equal 36 watts. Multiply by 1.25 and you need a transformer rated for at least 45 watts minimum.
Placement matters just as much as rating. The transformer needs to mount on an exterior wall near a GFCI-protected 120V outlet. NEC 411.4 requires low voltage landscape lighting systems to be powered from a listed transformer. That transformer must be connected to a grounded circuit. I always mount mine between 12 and 18 inches off the ground — high enough to stay clear of soil moisture, low enough to avoid pulling the cable awkwardly upward. Use the supplied mounting hardware or stainless screws. Outdoor transformers see real weather, so use corrosion-resistant fasteners every time.
Most quality transformers include a built-in timer and photocell. Use both. The timer limits runtime, which extends LED lifespan. The photocell ensures lights turn on automatically at dusk without you touching anything. In my experience, homeowners who skip the timer setting burn through their fixtures 30% faster than those who run a 6-hour cycle. Set it, forget it, and your system will last years longer.
Cable Sizing and Voltage Drop: The Math That Saves Your Lights
Here’s where most DIY installs go wrong. Voltage drop is a real phenomenon. As current travels down a long cable, resistance causes voltage to fall below the 12V your fixtures need. If a light at the end of a 150-foot run is only receiving 10.2V, it will be noticeably dimmer than the first fixture. Worse, it may flicker or fail early. The generally accepted threshold is no more than 0.5V drop across your entire run.
For runs under 100 feet with loads under 100 watts, 16 AWG two-conductor direct-burial cable is sufficient. For runs between 100 and 200 feet, step up to 14 AWG. Beyond 200 feet, use 12 AWG or reconfigure your layout into shorter runs from the transformer. I learned this the hard way on a job in 2019. I ran 12 fixtures on a single 180-foot loop of 16 AWG wire. The first four lights looked great. The last three were visibly dim. My client noticed immediately. I had to re-pull 12 AWG wire on a Saturday afternoon. That mistake cost me four hours of labor and about $35 in new cable. Never again.
The T-method and daisy-chain are the two main wiring configurations. The daisy-chain connects fixtures in series along one run. The T-method splits the cable from the transformer into two runs going in opposite directions. For most residential installs, the T-method reduces voltage drop because each run is shorter. Specifically, if you have 12 lights, split them into two groups of six on separate runs. Both methods are NEC-compliant when wired correctly.
Low Voltage Landscape Lighting Wiring Guide: Step-by-Step Installation
Before you touch a wire, call 811. That’s the national Dig Safe hotline. It’s free, it’s required by law in most states, and it marks underground utilities within 48 to 72 hours. I’ve seen homeowners nick irrigation lines and communication cables. It’s not worth it. Make the call.
Step 1: Lay Out Your Fixtures
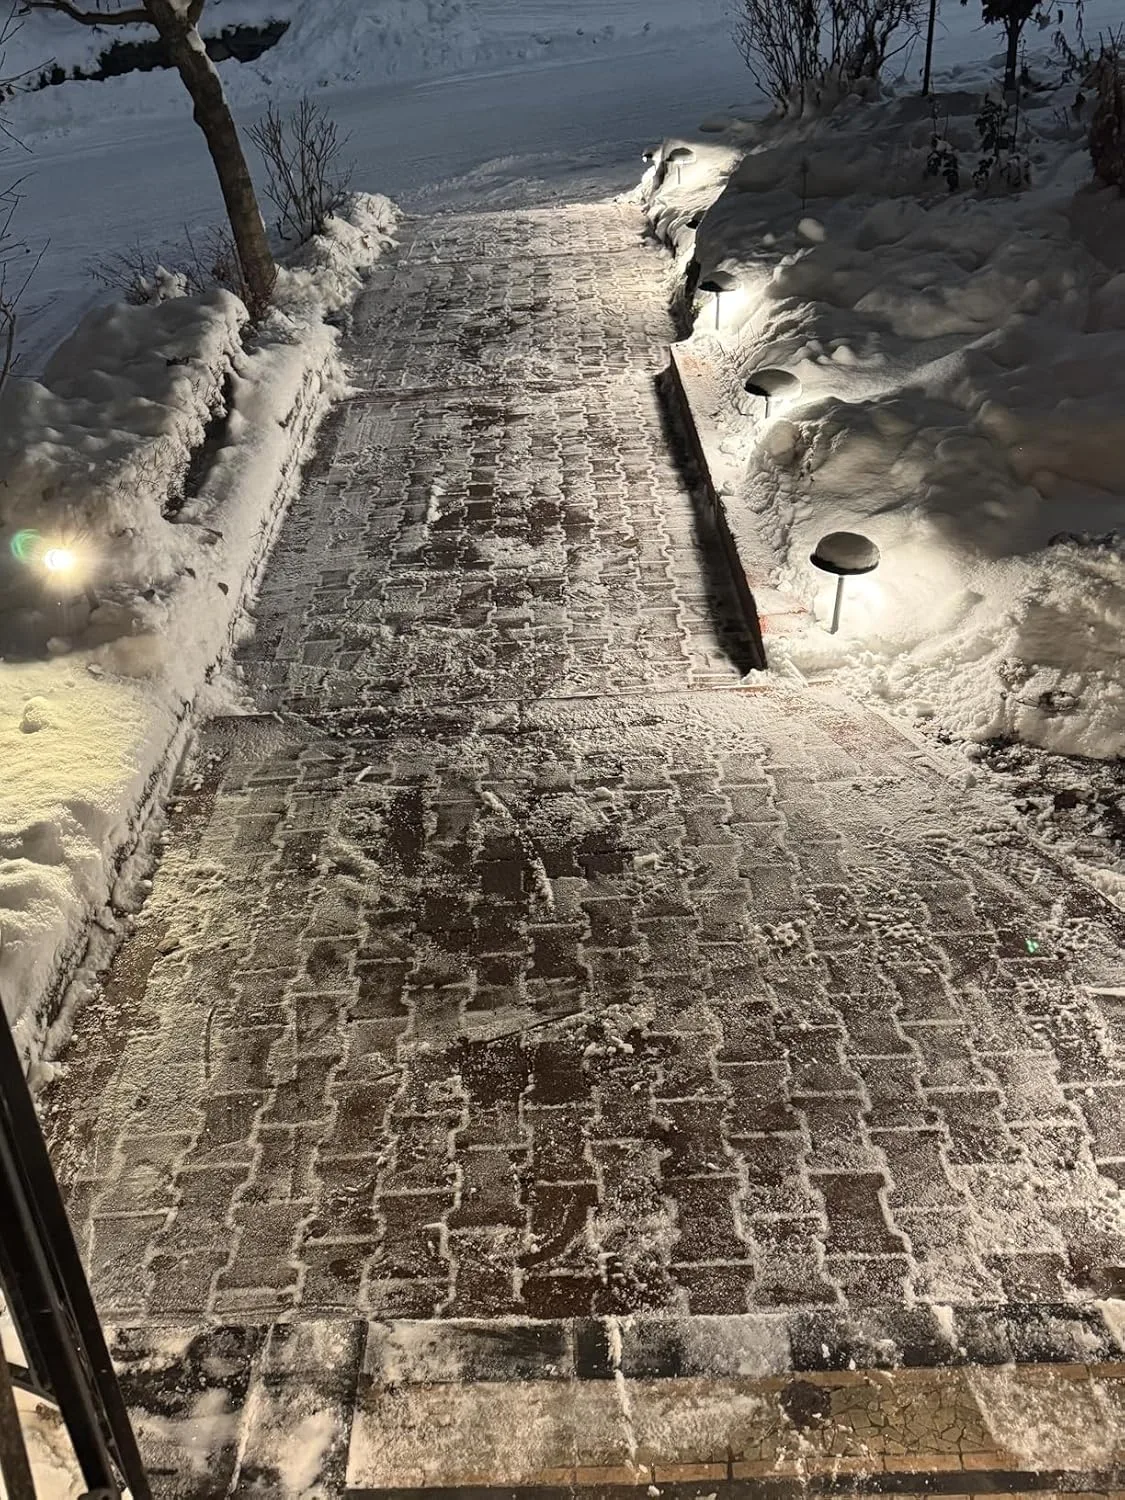
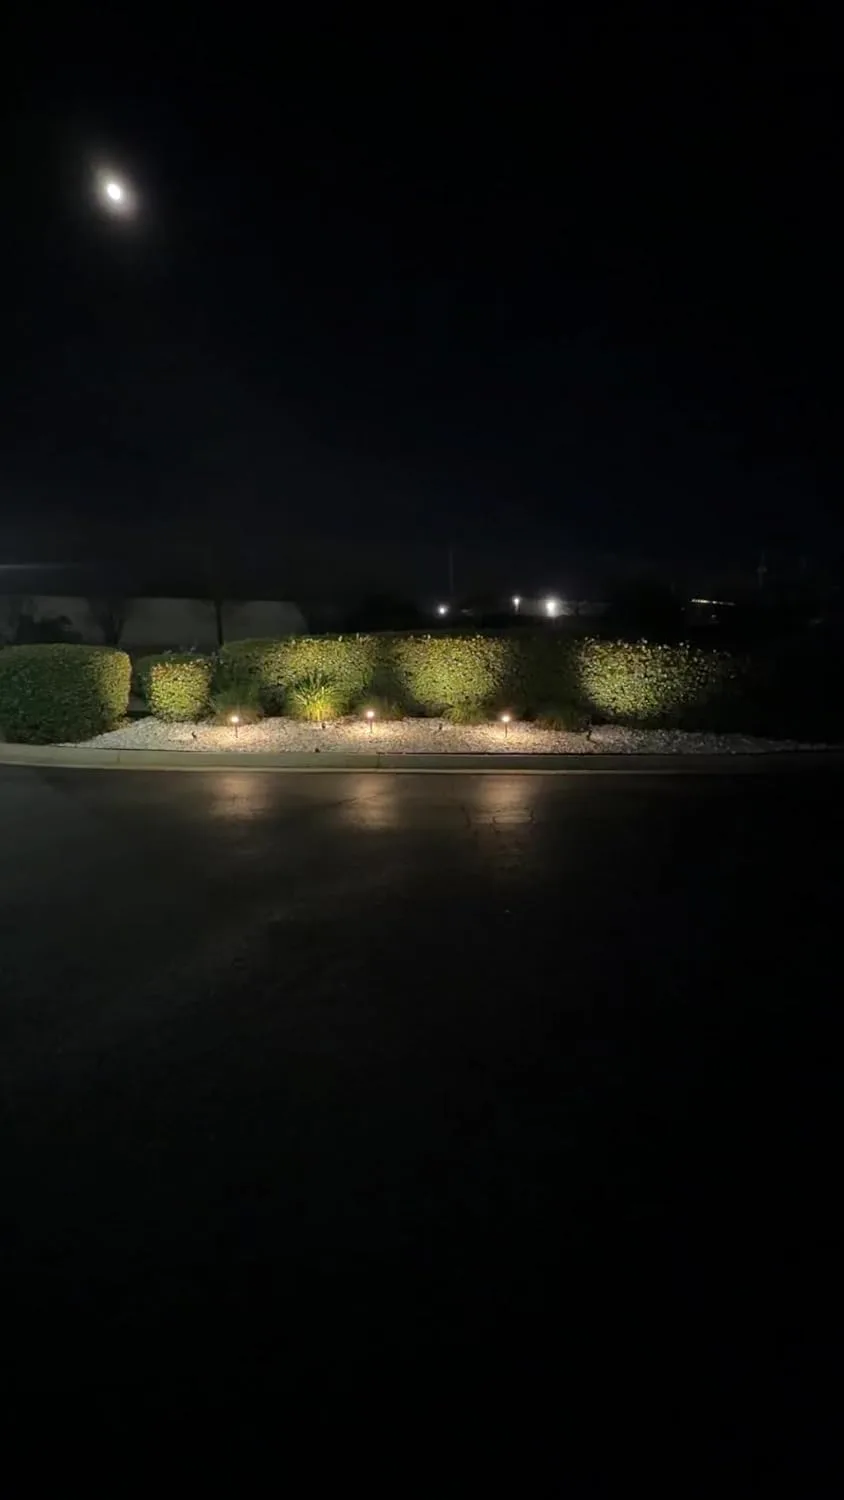
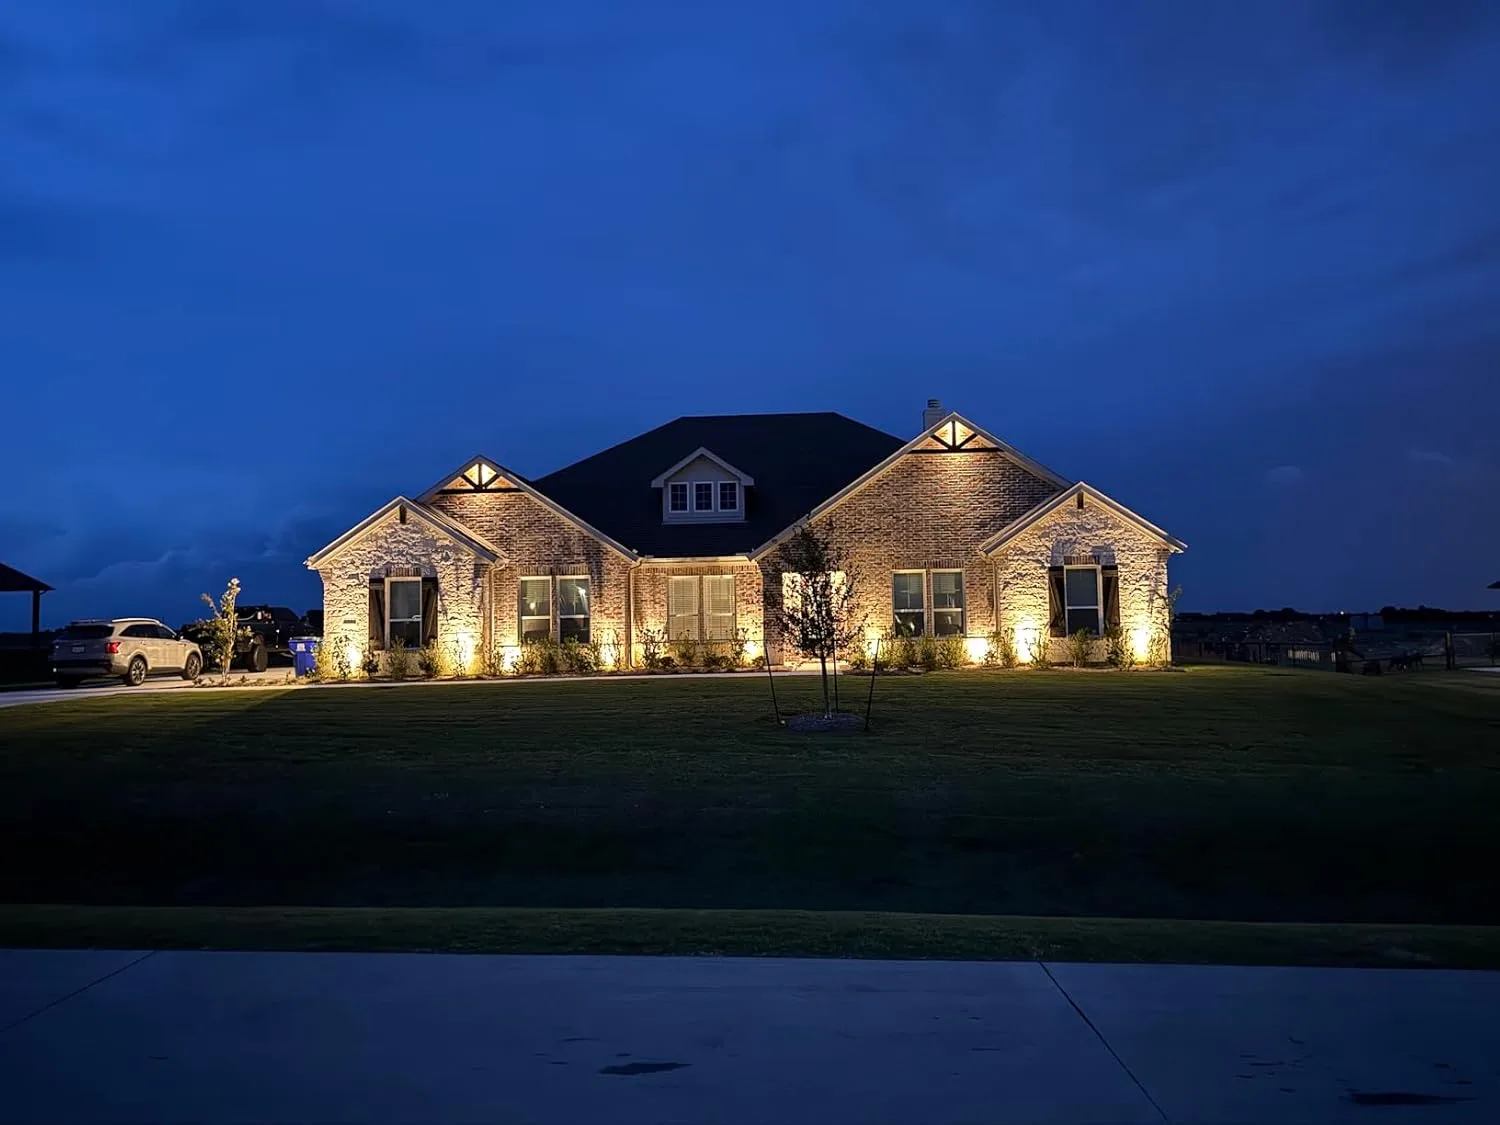
Place your fixtures where you want them before running any wire. Space pathway lights 6 to 8 feet apart for even coverage without overlap. Spotlights work best positioned 12 to 18 inches from the base of a tree or shrub, angled at roughly 45 degrees. Use stakes temporarily so you can adjust placement freely. Once you’re satisfied with the layout, measure the total cable distance back to your transformer location. Add 10% for slack and terrain changes.
Step 2: Run the Cable
Lay the cable along your planned route. Use a flat spade or a dedicated cable-laying tool to bury it 3 to 6 inches deep through lawn areas. Along mulch beds, you can leave it just below the surface. Secure the cable every 10 feet with landscape staples so it doesn’t shift during burial. Keep the cable away from metal edging — it can abrade the insulation over time, especially in freeze-thaw climates. I’ve seen this cause intermittent shorts that are extremely difficult to diagnose.
Step 3: Connect the Fixtures
Most low voltage landscape light kits use quick-connect or snap-on connectors. These pierce the cable insulation to make contact with the conductors inside — no stripping required. Line up the connector with the cable, press the two halves together firmly, and snap the locking tab. However, don’t over-tighten or crush the connector body. Damaged connectors create resistance, heat, and eventually failure. After connecting, give the fixture a firm tug to confirm it’s seated. A properly connected fixture won’t pull free with normal hand pressure.
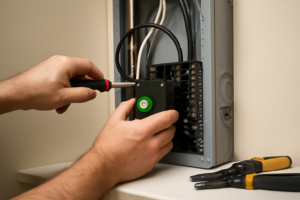
Step 4: Connect Cable to Transformer
Strip approximately 3/4 inch of insulation from each conductor at the transformer end. Loosen the terminal screws, insert each wire fully, and tighten firmly. Most transformers have multiple terminal pairs for separate zones — label them with tape if you’re running more than one circuit. Set your timer and photocell before plugging in. Then plug the transformer into your GFCI outlet and test every fixture before burying the cable. This saves enormous frustration. Fix any connection issues now, not after the mulch goes back down.
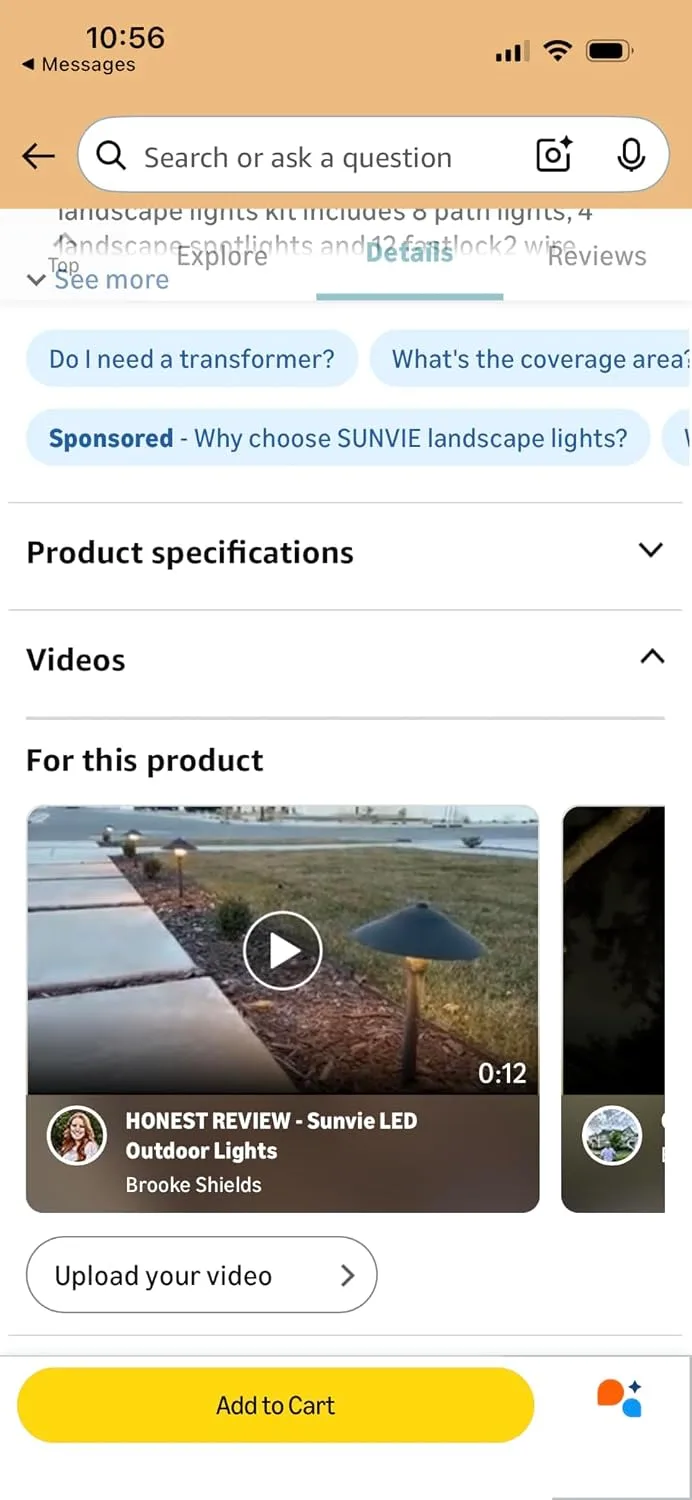
The Kit That Saved Me From Rewiring Half My Yard Mid-Season
The real challenge with landscape lighting isn’t picking the right lights—it’s getting the transformer, wire gauge, and circuit layout right from day one. I’ve dug up more failed installations than I care to admit, and most of them came from mismatched components or undersized transformers that couldn’t handle the load.
What works
- The transformer is pre-sized and tested for the included light count, so you don’t waste time calculating wattage or guessing whether your setup will actually run stable through summer heat.
- All the wire is the right gauge for low-voltage runs, which means you get consistent brightness from the first light to the last—no more flickering fixtures at the end of long runs.
- The timer and weatherproof connectors come bundled in, so you’re not hunting three different suppliers before you can even plug anything in.
What doesn’t
- You’re locked into the light design and spacing that SUNVIE chose—if you want a custom layout or different fixture styles, you’ll end up replacing half the kit anyway.
- The included wire run is fixed, so if your layout is deeper than 50 feet or branches in unexpected directions, you’ll need to buy extension cable and do some splicing work.
I was skeptical the first time I opened one of these kits—I’ve been burned by all-in-one setups before—but I ran the numbers on the transformer and actually tested the voltage drop across the full wire run before committing. Turned out it held steady even in peak summer load, which is the real test. If you want to skip the troubleshooting phase and get a working system installed this weekend, grab the SUNVIE All-in-One LED Low Voltage Landscape Lighting Kit.
This post contains affiliate links. As an Amazon Associate, I earn from qualifying purchases at no extra cost to you.